Ubuntu Linux is my primary OS of choice at home. I use Ubuntu server to run most of my home lab servers, and I use Ubuntu desktop as my primary day-to-day OS. Ubuntu drops a new OS release every six months, but that’s more often than I like to upgrade everything. So I use the Long Term Support (LTS) Ubuntu releases, which come out every two years. I like to stay on the latest, so I upgrade every two years. Most times things go right, but a few times they have not, and I usually just have to install it from scratch. But, now I use Timeshift to back up my install first, which allows me to revert back to a previous install. Here’s a quick overview of Timeshift.
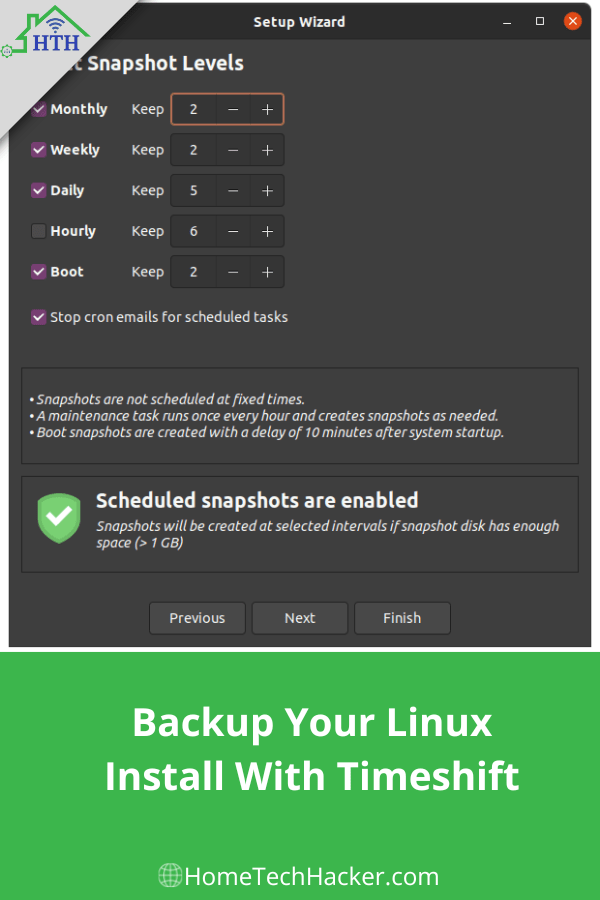
Table of Contents
What is Timeshift
Timeshift has a purpose similar to Windows System Restore and macOS Time Machine. It runs on most flavors of Linux, including my preferred distro, Ubuntu. It creates snapshots of your OS at the intervals you specify. Timeshift can also restore your system to a backup. If you make changes (like application or OS upgrades) that don’t work properly, you can restore an older snapshot of your OS when things did work properly.
In order to conserve space, Timeshift creates differential backups. This means that it only backs up differences from previous backups. If files in previous backups haven’t been modified, there’s no need to back them up again. Timeshift will know when to grab unchanged files from older backups and new changes when you want to restore a snapshot.
Timeshift uses Rsync (or if you are using BTRFS, it can use that) which is a time-tested tool for backups. I’ve been using Rsync to back up my user files (photos, videos, documents, etc.). It doesn’t consume much memory, disk, or CPU cycles and works quietly in the background.
Timeshift installation on Ubuntu 20.04/22.04
Installing Timeshift on later versions of Ubuntu is easy because it is already included in the default system repo. So all you have to do is type:
sudo apt install timeshift
Then you can run it by finding it in your application menu or simply typing:
timeshift-launcher
at the command line. Note you’ll need to supply your sudo password for admin access. Then you’ll step through the initial configuration.
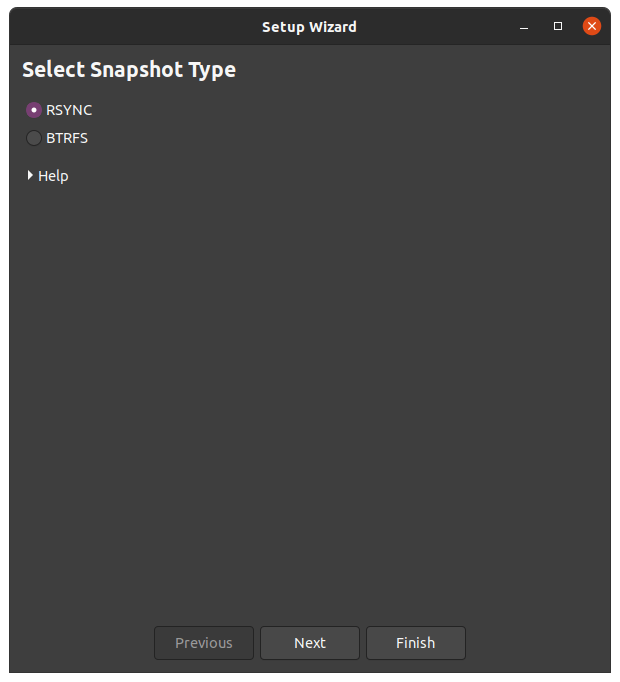
Step 1: Select snapshot type
First, it will ask you to choose a snapshot type. Unless you have set your system to run BTRFS, stick with the default of Rsync.
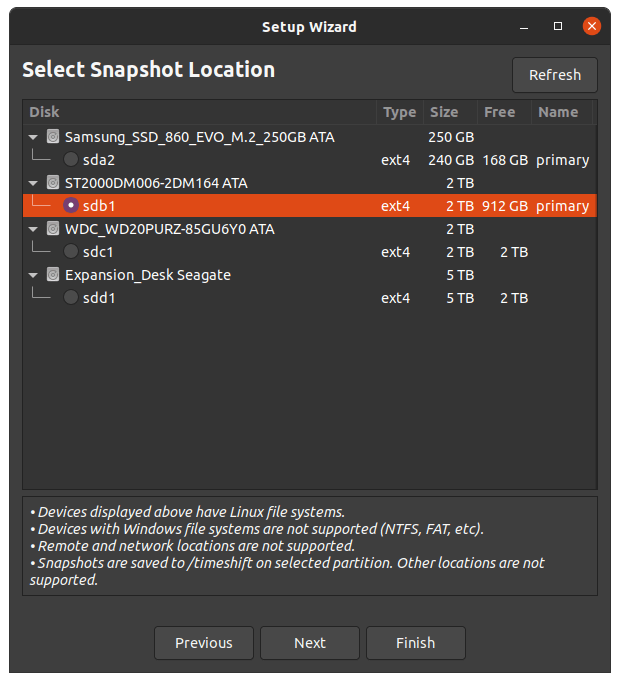
Step 2: Select the snapshot location
Now it is time to choose where you want to save your snapshots. Make sure to choose a disk that has enough room for your snapshots. For some, this is an external drive or an extra hard drive connected to the machine. If you are using an external hard drive, make sure it is in a format that Linux supports. Remote storage locations aren’t supported.
Step 3: Set your snapshot schedule
Next, you set up your snapshot schedule. Choose how often you want to create snapshots and how many of each type of snapshot you want to create:
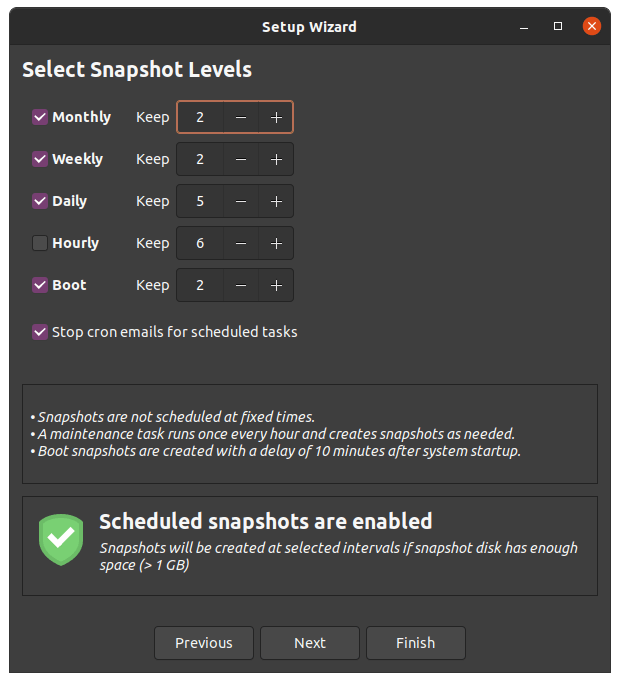
Note the setting “Stop cron emails for scheduled tasks.” If don’t select this and you have mail configured on your machine, you’ll receive an email every hour because Timeshift checks its schedule every hour to determine whether or not it needs to create a snapshot. I have no interest in hourly emails so selected this option.
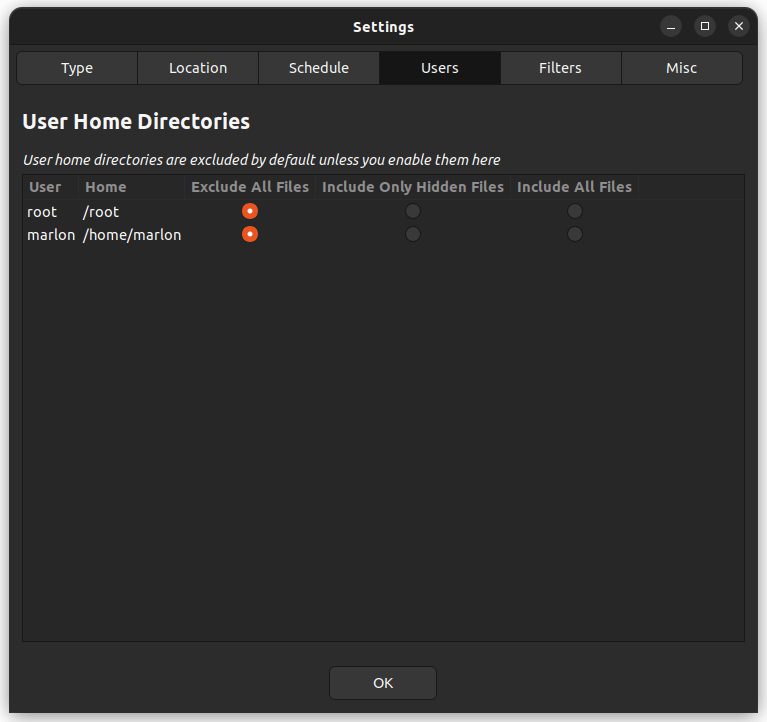
Step 4: Include or exclude user home directories
Timeshift is designed for system backups, not for backing up your home directories. So, by default, it excludes your home directories. You can override this setting if you like.
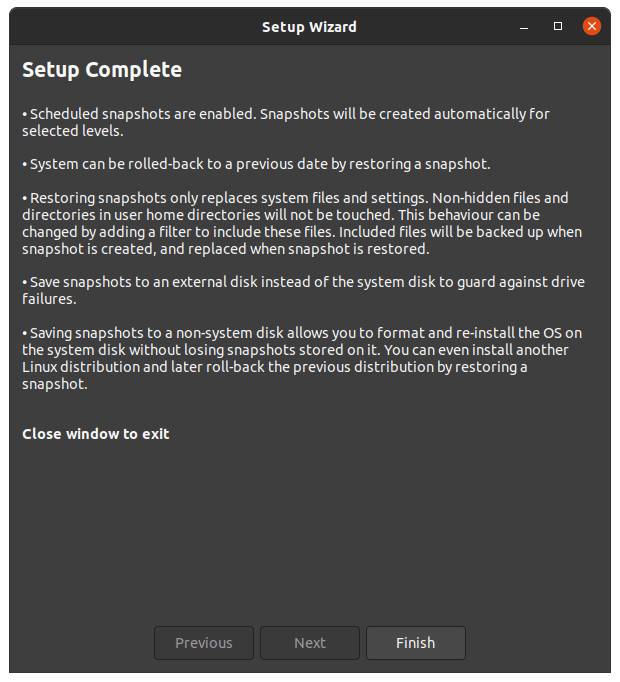
Next you see the setup wizard completion screen and now you are done… or are you?
Post-installation configuration
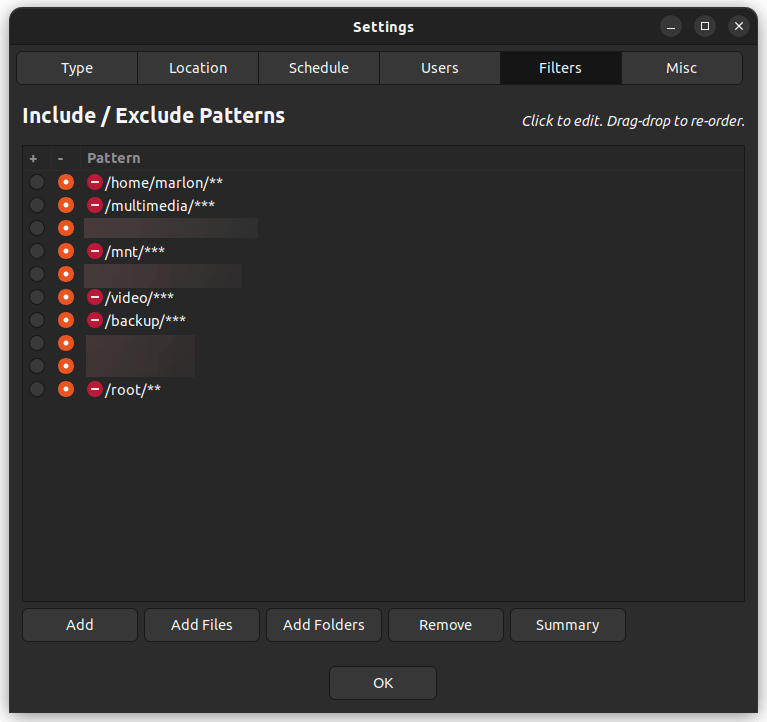
If you’re like me, and you have multiple disks mounted to your computer. I have many that I don’t want to be backed up as part of the Timeshift backups. Luckily, you can set up filters to include and exclude files and directories. Run Timeshift again and go to Settings->Filters and select the specific files and folders you want to include and exclude.
You can go into these settings and change any of the options you set during the initial setup (snapshot location, schedule, user directories, etc.). You can also change the date format of your snapshots.
Using Timeshift
Using Timeshift is simple. Most of the time you don’t have to do anything and it will just do its thing in the background. Occasionally you may want to take a manual snapshot off schedule, and you can do that easily from the Timeshift UI. Just click “Create” on the main screen. Below you can see the snapshots I’ve created and how they are tagged. You can also see that I took snapshots before and after I upgraded to Ubuntu 22.04.
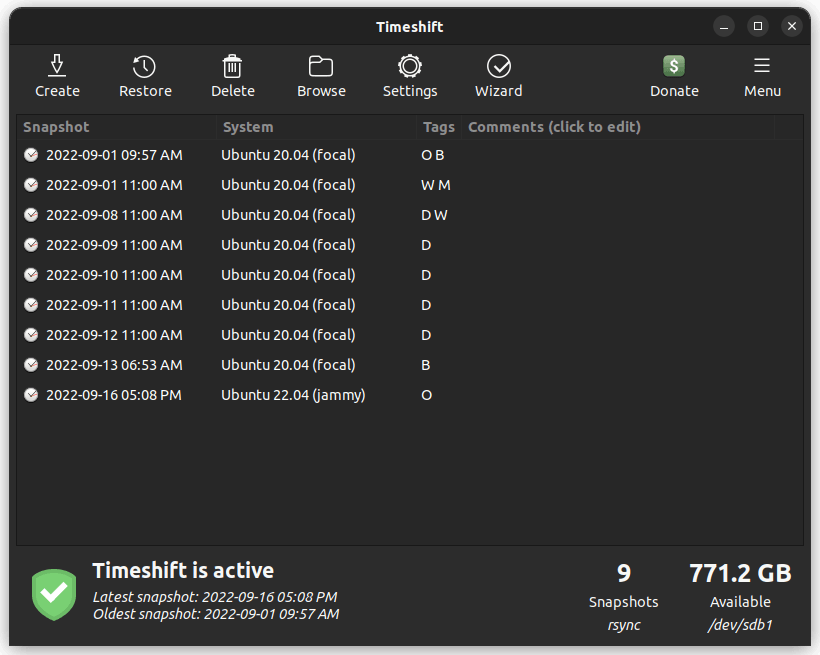
The tags indicate what type of backup it is:
- O — On demand
- B — Boot
- H — Hourly
- D — Daily
- W — Weekly
- M — Monthly
Timeshift can also be used via the command line. Just type:
timeshift --help
to learn more.
Final thoughts
Timeshift gives me extra confidence when I’m making major changes to my system, like when I am upgrading to a new version of Ubuntu. It’s simple to use, and reliable, and you can set it and forget it. Timeshift can be a part of a good backup strategy.
Are you using Timeshift? Do you use something else in its place? Let me know in the comments or on Twitter.