
A little while back I wrote an article about how to turn your dumb garage door opener into a smart one for just $15 using a Shelly 1 relay. This worked great on my dumb, older, Genie garage door opener that just uses a dry contact button to open and close the garage. Recently, the motor gave out on one of my garage door openers and I replaced it with a MyQ enabled Chamberlain b353 Security+ 2.0 garage door opener.
Newer Chamberlain, LiftMaster, and Craftsman garage door openers all use the same Security +2.0 technology. Instead of just using a dry contact to open and close the garage, they actually use a circuit to send signals to the garage door. While this allows a garage door controller to do things like program the garage door and turn the light on, it totally disables my previous solution of wiring a smart relay in parallel to the button to open and close the garage.
Fear not, you can still control these with a Shelly relay. Here’s how I did it.
This page contains affiliate links. If you purchase an item using an affiliate link I will receive a small commission at no cost to you. Affiliates do not influence my recommendations. Read my disclosures for more information.
Table of Contents
Why not just use MyQ?
MyQ is built in to my garage door opener. It integrates with Google Assistant and Alexa (for a fee) but works on its own without any cost. Home Assistant has an integration with it as well. It allows you to open, close, and track the status of your garage door opener. Problem solved, right? Well, not so fast.
I like to have things controlled locally to my home network as much as possible. This is for privacy, security, and long term function reasons. Do I really want a provider to store data on when I open and close my garage door? What if they get hacked? Do I want someone to be able to potentially control my garage door remotely by breaching security I have no control of and that may not even notify me of a breach for months?
Not too mention, what if they decide to close access from Home Assistant to their API? We’ve seen this before with many providers. In searching the Home Assistant forums, the API goes down or changes fairly frequently, leaving users without the ability to control their garage door through Home Assistant. And, I like for as many of my devices to work when my Internet connection is down as possible. Local control is best!
Materials needed
Not a lot. You just need:
- A spare garage door opener compatible with Security+ 2.0. Mine came with this garage door opener, which I used since I have Homelink in my car. You can also try using a less expensive garage door opener.
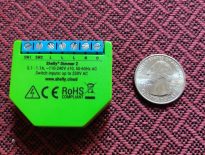
- A Shelly 1 smart relay. You can also use the smaller dry-contact Shelly Gen 3 relay.
- Soldering iron.
- Some wire. I just used doorbell wire.
- 12V DC adapter – In my case, I had one lying around from an old Netgear router. You can also use the one I’ve linked to without even cutting the wire. This will be used to power the Shelly 1.
- Good 2.4Ghz Wi-Fi signal where you will put the relay; the Shelly 1 is controlled over Wi-Fi.
- Advanced: A connected (e.g. Z-wave or Zigbee) tilt or door sensor and home automation software (like Home Assistant). This will allow you to know whether the garage door is open or closed along with being able to open and close it. More on this later in the article.
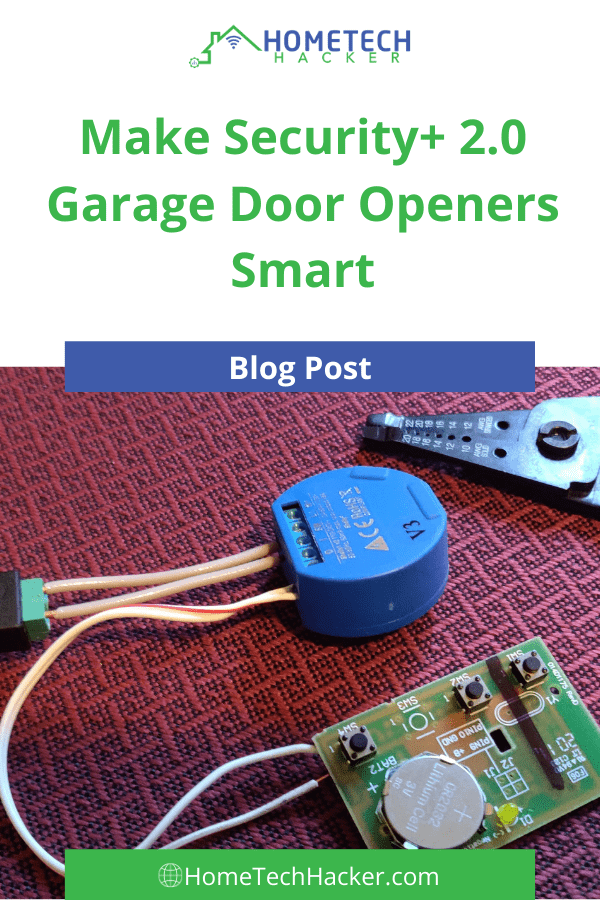
Putting it all together
You must make sure your garage door remote has a button that is already programmed to open up your garage door. Then, you take apart that garage door opener.
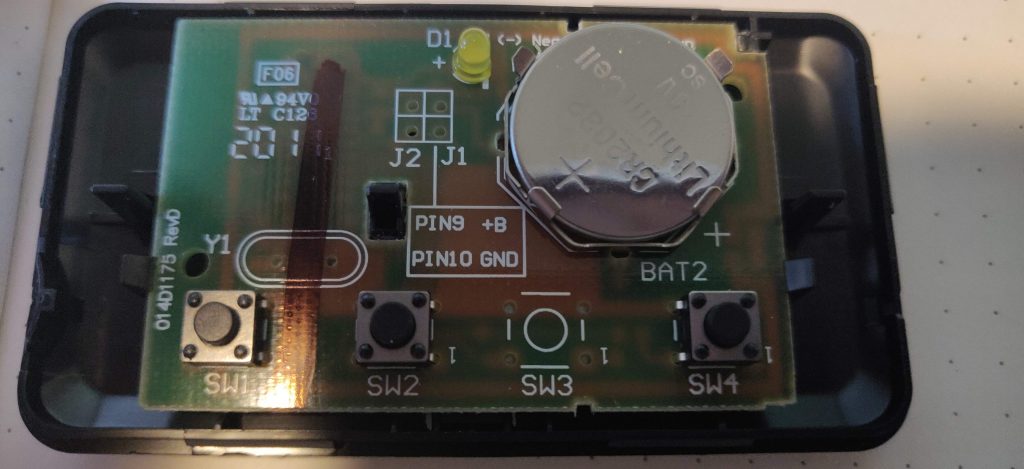
Locate the buttons that control your garage door. In my case it is the button labeled SW4. Then flip over the circuit.

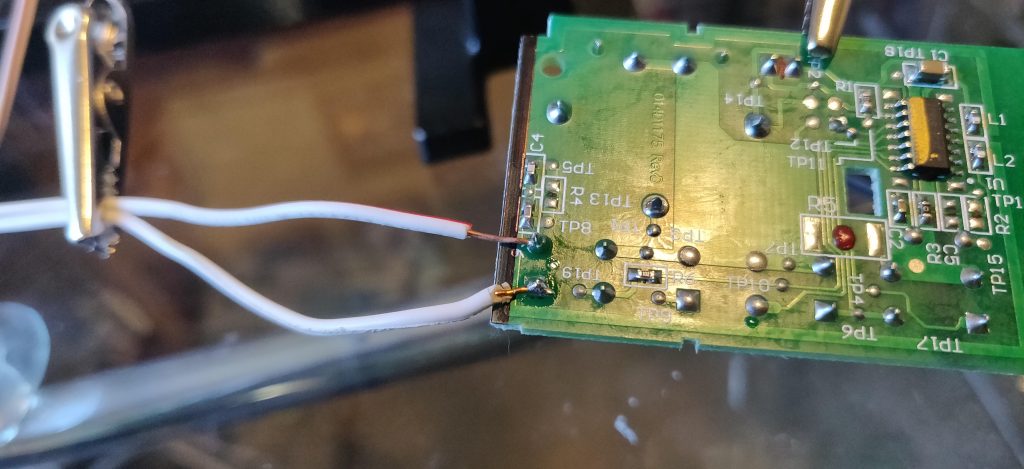
Locate the leads connected to your button. There are 4 for each button (2 pairs), and I think any pair will work. I chose the ones on the end for the easiest soldering. Then you simply solder some wire to the leads.
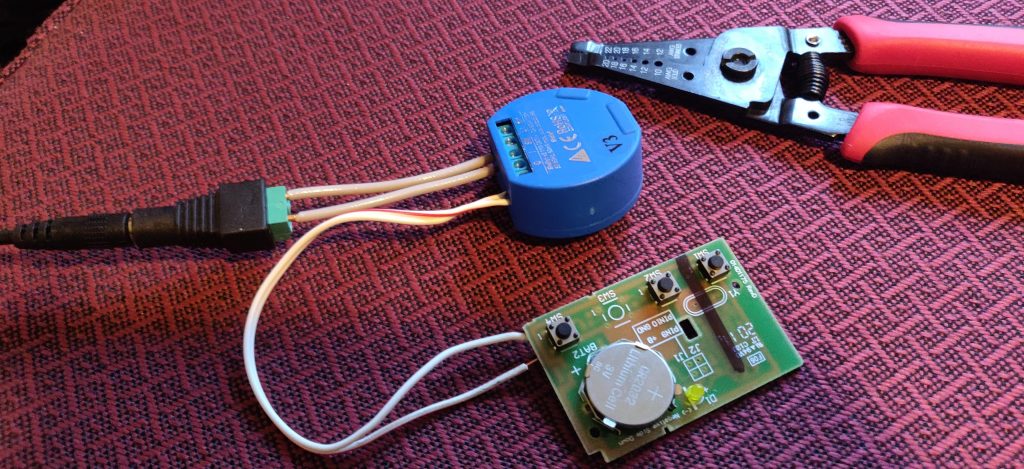
Next, connect those wires up to the Shelly relay (the 0 and I ports). Put the Shelly jumper on the right setting for your DC voltage. Then you connect your DC adapter to the Shelly relay. This is really just like I described in my previous article about using a Shelly 1 relay to make your garage door opener smart. The only thing that’s different is instead of wiring the output of the Shelly relay in parallel with the garage door opener button, you are connecting it to the garage door opener remote.
Editor’s Note: Here are instructions for wiring the newer Shelly Plus 1 smart relay.
Now find a good place to put your new smart garage door opener (basically where there’s power, the signal from the remote reaches your garage door, and there is a good Wi-Fi signal). Everything else (linking with a tilt sensor to know the status of the door and integrating with Home Assistant) is the same as it was before. When you trigger the Shelly 1 relay, it triggers the garage door opener remote control button, causing your garage door to open or close. Basically, it’s just like pressing the garage door opener remote control button.
Editor’s Note: If you want to add secure control of your garage door from outside, take a look at this project of using a fingerprint scanner to open and close your garage door.
Final thoughts and considerations
This will work with any garage door opener that has a remote with buttons regardless of the technology the garage door opener uses. The main downsides are that you have to solder and you will occasionally need to replace the battery in the remote! You could probably do something similar with a hard wired controller for your garage door, however, and then you wouldn’t need to worry about the battery.
If you get a fancier garage door opener and you don’t want to use their cloud service (or it doesn’t have cloud service) this is another way you can make your garage door opener smart!
Editor’s Note: Here’s how you can power your entire smart home using Shelly products.
For those attempting this, any security 2.0 garage door opener will do. This one https://amzn.to/3jOVPWu (sorry for external link! I’m not affiliated with this product in any way!) Has only a single button and curently lists for under $10 according to that amazon link.
If you want to skip the soldering, There’s something listed as a “Security+ 2.0 adapter” over on the OpenGarage page: https://opensprinkler.com/product/security20/ (again not affiliated with this link either) where it’s the same/similar button I linked above, but they’ve already done the soldering for you.
Thanks, Stu. for those that don’t want to solder there are also:
https://www.garadget.com/product/security-2-0-dry-contact-adapter/ and https://www.garadget.com/product/security-2-0-wireless-dry-contact-adapter/
You can also add a buck converter to eliminate the watch battery.