I have an alarm system with a siren. However, the siren isn’t loud enough to be heard clearly throughout our home. It’s easy to miss if we are sleeping or listening to the TV loudly in some places in the house. So, I thought getting a siren to augment my home security would be a good idea. After some research, I decided to try out the Neo Siren as it had good reviews on Amazon and was a Z-Wave device that would easily integrate with my smart home. Was it a good purchase? This article details my thoughts.
This page contains affiliate links. If you purchase an item using an affiliate link I will receive a small commission at no cost to you. Affiliates do not influence my recommendations. Read my disclosures for more information.
Table of Contents
Neo Siren specs and overview

- Do not work with Ring& Vivint panel! ●Audio & Visual Variety: unique chimes/alarms with a flashing red LED to notify you of different home events. Support two types of power supply- Battery power & USB charged ( 6V, 0.5A ) If the voltage is in 4.5-6V, it will report low power.
- ●Specialized Schedules: Get creative with daily audio schedules built around your life and family: define study time for the kids, never forget to feed the fish, set reminders for the elderly.
- ●Emergency Support: Connect the Smart Chime to other Z-Wave safety devices to know instantly what the trouble is, whether it’s broken glass, an unlocked safe, smoke, or floods.
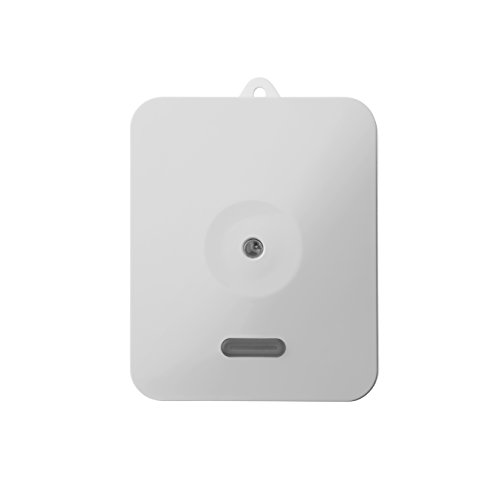
Below are the basic specs of the Neo Siren Alarm
| Dimensions | 2 x 1.88 x 1.88 inches |
| Weight | 4.6 ounces |
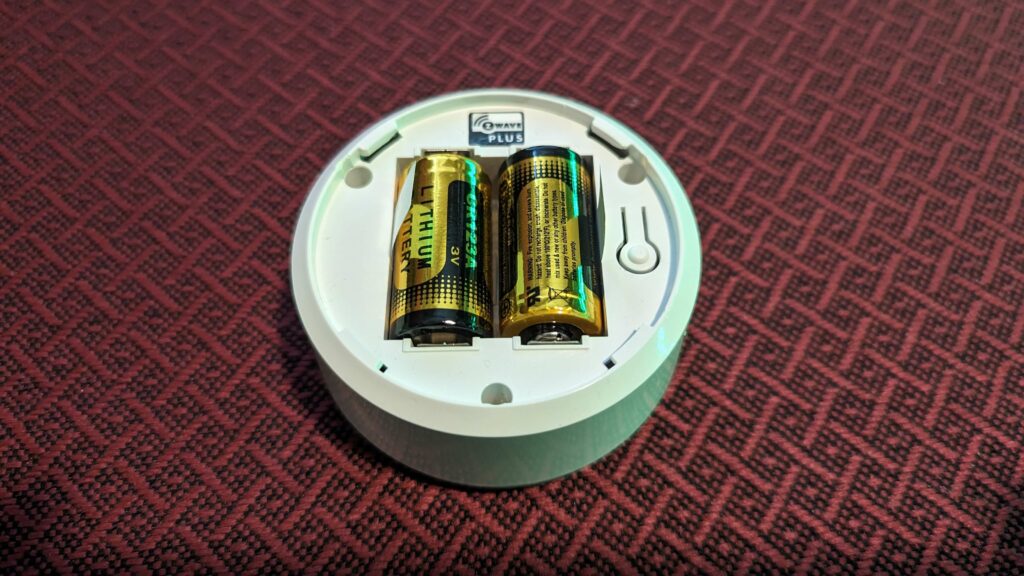
| Power | 2 CR123A batteries and/or USB Micro connection (4.5 – 6V, .5 amps) |
| Siren loudness | up to 105dB |
| Siren types | 10 different configurable siren sounds |
| Connectivity | Z-Wave Plus |
With the configurable sounds this unit can function as a doorbell and/or a siren, as you can change which sound it uses in real time to fit your needs.
You can also:
- Customize the alarm volume to three different levels
- Customize how long the alarm sounds
- Set whether the LED comes on or not when the siren is triggered
Adding to Home Assistant
Joining this device with a Z-Wave network is straightforward. I’m going to go through how to join it using Home Assistant’s Z-Wave JS implementation. However, the process for joining it to other Z-Wave-capable hubs should be similar.
First, you pry the back off of the device to expose the code button. Then in Home Assistant, head to Z-Wave JS configuration page and press “Add Device.” Finally, triple-click the Neo Siren Alarm code button.
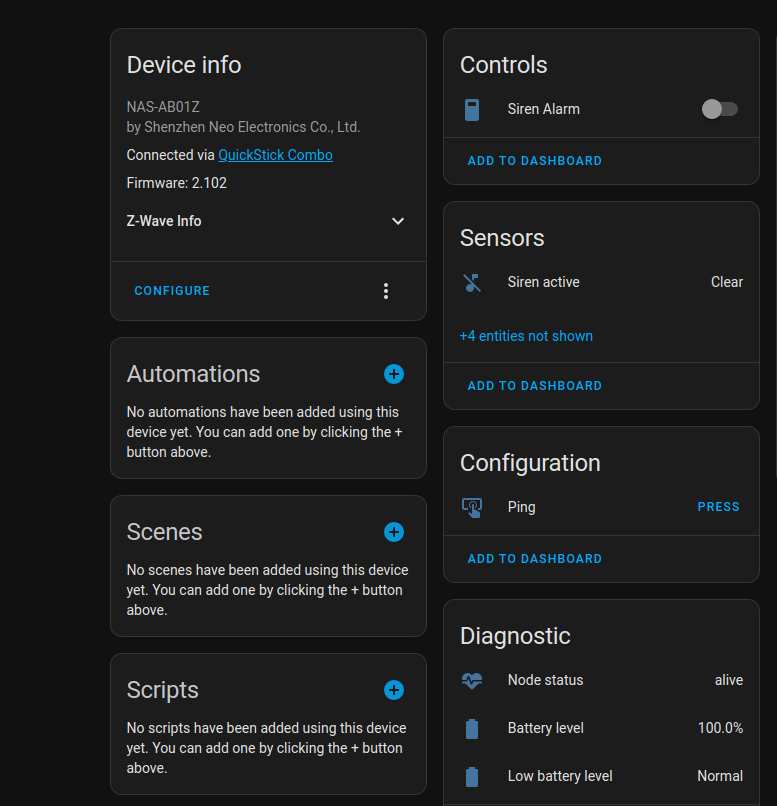
The Neo Siren Alarm LED will flash red 5 times. After a short wait, Home Assistant should add the device to the Z-Wave network and you’ll have a device page like the following:
Usage and configuration
The main entities that Home Assistant creates are the Siren Alarm switch and the Battery Level sensor. By default, turning the switch on sets off the default Siren and LEDs like so:
Configuring the siren in Home Assistant
All most people using this siren will need to do is turn it on and off based on triggers. However, power users might want to use different sounds and lengths of alarm duration. They may also want to customize the volume.
For example, you may want it to sound like a doorbell when someone is at your door, or have different alarm sounds depending on whether an intruder is detected or there is a water leak.
All of this is possible in Home Assistant using the zwave_js.set_config_parameter service. For example, if you wanted to set the Neo Siren Alarm to use the Police Siren alarm at a medium volume, and have the LED come on you could use a script that looks like this:
set_police_siren_alarm:
  alias: "Set Police Siren Alarm"
  sequence:
#Set Parameter 7 of the siren to use an alarm sound configuration (1)
    - service: zwave_js.set_config_parameter
      data:
        parameter: "7"
        value: "1"
      target:
        entity_id: switch.siren_alarm
#Set Parameter 5 of the siren to use an Police Siren alarm sound selection (7)
    - service: zwave_js.set_config_parameter
      data:
        parameter: "5"
        value: "7"
      target:
        entity_id: switch.siren_alarm
#Set Parameter 1 of the siren to use an use a medium (middle) alarm volume (2)
    - service: zwave_js.set_config_parameter
      data:
        parameter: "1"
        value: "2"
      target:
        entity_id: switch.siren_alarm
#Set Parameter 8 of the siren to flash the LED (1) for alarms
    - service: zwave_js.set_config_parameter
      data:
        parameter: "8"
        value: "1"
      target:
        entity_id: switch.siren_alarm
#Give Z-Wave time to update the configuration
    - delay: '00:00:01'
This code simply sets the appropriate parameters to the right values for the alarm we wanted. You’d still need to use the switch.turn_on service to trigger the siren.
If you wanted to set the siren to use Westminster doorbell sound at low volume with the LED flashing you could make a script similar to the following:
set_doorbell_siren_chime:
  alias: "Set Doorbell Siren Alarm"
  sequence:
#Set Parameter 7 of the siren to use an doorbell sound configuration (2)
    - service: zwave_js.set_config_parameter
      data:
        parameter: "7"
        value: "2"
      target:
        entity_id: switch.siren_alarm
#Set Parameter 6 of the siren to use an Westminster Chimes doorbell sound selection (3)
    - service: zwave_js.set_config_parameter
      data:
        parameter: "6"
        value: "4"
      target:
        entity_id: switch.siren_alarm
#Set Parameter 4 of the siren to use an use a low doorbell volume (1)
    - service: zwave_js.set_config_parameter
      data:
        parameter: "4"
        value: "1"
      target:
        entity_id: switch.siren_alarm
#Set Parameter 9 of the siren to flash the LED (1) for alarms
    - service: zwave_js.set_config_parameter
      data:
        parameter: "9"
        value: "1"
      target:
        entity_id: switch.siren_alarm
#Give Z-Wave time to update the configuration
    - delay: '00:00:01'
You can find these parameters and the possible values in the Z-Wave JS console or inside the Home Assistant configuration screen for this device, but I put some of the ones I use in the next section.
Siren configuration settings
These are the values you can use for the various configuration settings I referenced above.
Default Siren Sound (Parameter 7)
| Numeric Value | Text Value |
|---|---|
| 1 | Alarm Sound (default) |
| 2 | Doorbell Sound (default) |
Alarm Sound Selection (Parameter 5)
| Numeric Value | Text Value |
|---|---|
| 1 | Doorbell |
| 2 | Für Elise |
| 3 | Westminster Chimes |
| 4 | Ding Dong |
| 5 | William Tell |
| 6 | Ronda Alla Turca |
| 7 | Police Siren |
| 8 | Evacuation |
| 9 | Beep Beep |
| 10 | Beep (default) |
Doorbell Sound Selection (Parameter 6)
| Numeric Value | Text Value |
|---|---|
| 1 | Doorbell |
| 2 | Für Elise |
| 3 | Westminster Chimes |
| 4 | Ding Dong |
| 5 | William Tell |
| 6 | Ronda Alla Turca |
| 7 | Police Siren |
| 8 | Evacuation |
| 9 | Beep Beep (default) |
| 10 | Beep |
Alarm Volume (Parameter 1)
| Numeric Value | Text Value |
|---|---|
| 1 | Low |
| 2 | Middle (default) |
| 3 | High |
Doorbell Volume (Parameter 4)
| Numeric Value | Text Value |
|---|---|
| 1 | Low |
| 2 | Middle (default) |
| 3 | High |
Alarm LED (Parameter 8)
| Numeric Value | Text Value |
|---|---|
| 0 | Disable |
| 1 | Enable (default) |
Doorbell LED (Parameter 9)
| Numeric Value | Text Value |
|---|---|
| 0 | Disable (default) |
| 1 | Enable |
Other sirens to consider
All of the sirens below except the Ecolink generally cost more than the Neo Siren Alarm. The IQ and Ecolink are both plugin sirens, which can be a plus and a minus. I prefer at least having a battery backup in case the power is out since my home automation controller is also on battery backup in case of outages.
The Fortrezz unit has a good strobe light and can function in strobe-only mode. It also can plug in via a DC adapter and has battery backup. The IQ Siren has a good strobe as well.


Final thoughts
The Neo Siren Alarm is a good choice if you aren’t too interested in it as a powerful strobe light. It is responsive, works well over Z-Wave, and is portable. I especially like that I can modify the chimes to fit different triggers (alarm, flood, doorbell, etc.).
It could be an excellent addition to your smart home security system.
Do you have a different siren that you recommend? Let me know in the comments or on Twitter.