A little while back I wrote about my experience making an ESPHome-based air quality sensor. That sensor has continued to work really well for me. So much so, that I decided to get a bit more into air quality monitoring. I built a more compact second sensor using a different case than my first sensor. I also added an air quality monitoring integration to Home Assistant. Now, I have a clear picture of the air quality outside and inside my home. Here are a few updates on my air quality monitoring.
Editor’s Note: Please read the air quality sensor article I wrote if you want more details on how to build one. This article will only discuss improvements I’ve made since then. The previous article walks you through creating a sensor step-by-step.
This page contains affiliate links. If you purchase an item using an affiliate link I will receive a small commission at no cost to you. Affiliates do not influence my recommendations. Read my disclosures for more information.
Building a more compact air quality sensor
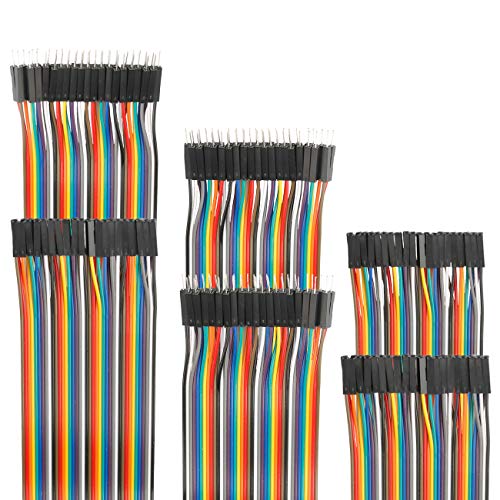
The last air quality sensor I built works and looks fine, but it is a bit bigger than it needs to be, given the size of the components. I found a project box that is more suited to this project. It is smaller and has vents. To fit all the components in it, I needed to get rid of the lever nuts and solder the connections. I also got rid of the solderless breadboard and use jumper cables to directly connect to the nodeMCU. Sadly, the project box I used is no longer available on Amazon. But, I’ve included another small project box that should work in the complete materials list for this smaller version:


You can probably find more options for project boxes on Amazon or AliExpress. Just remember they need to be vented. You can save money on the sensors by ordering from AliExpress too:
If you’re looking for wire strippers, soldering irons, and other tools to do this job, check out my HomeTechHacker Shop for recommendations.
Putting the smaller sensor together
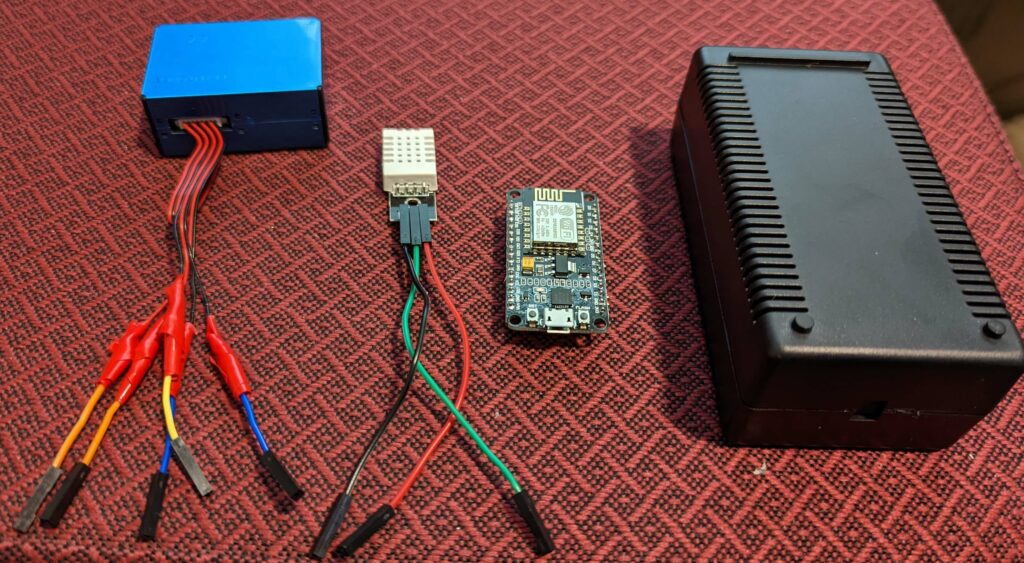
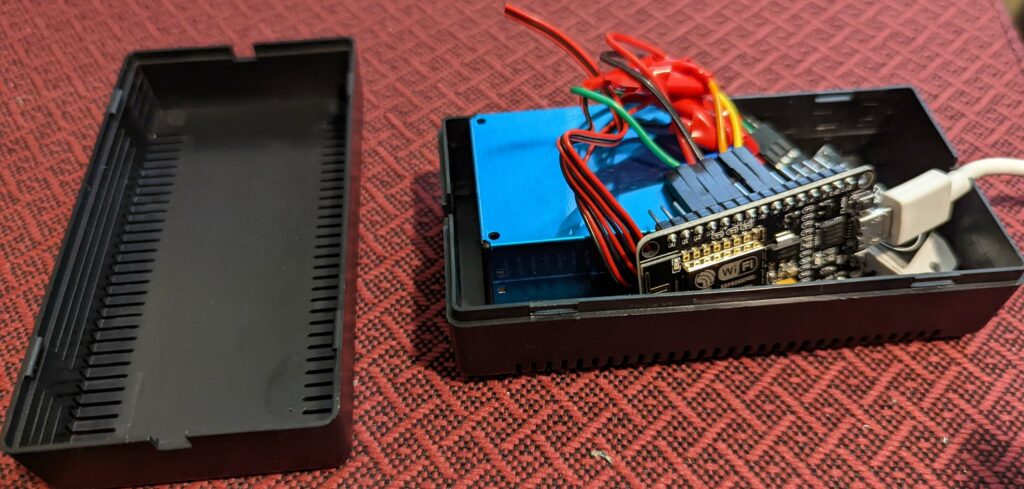
I simply stripped the wires from the air quality sensor connector and soldered them onto jumper cables (and covered them with electrical tape). Then I connected the DHT22 Temp+Humidity sensor and air sensor directly to the NodeMCU using jumper cables.
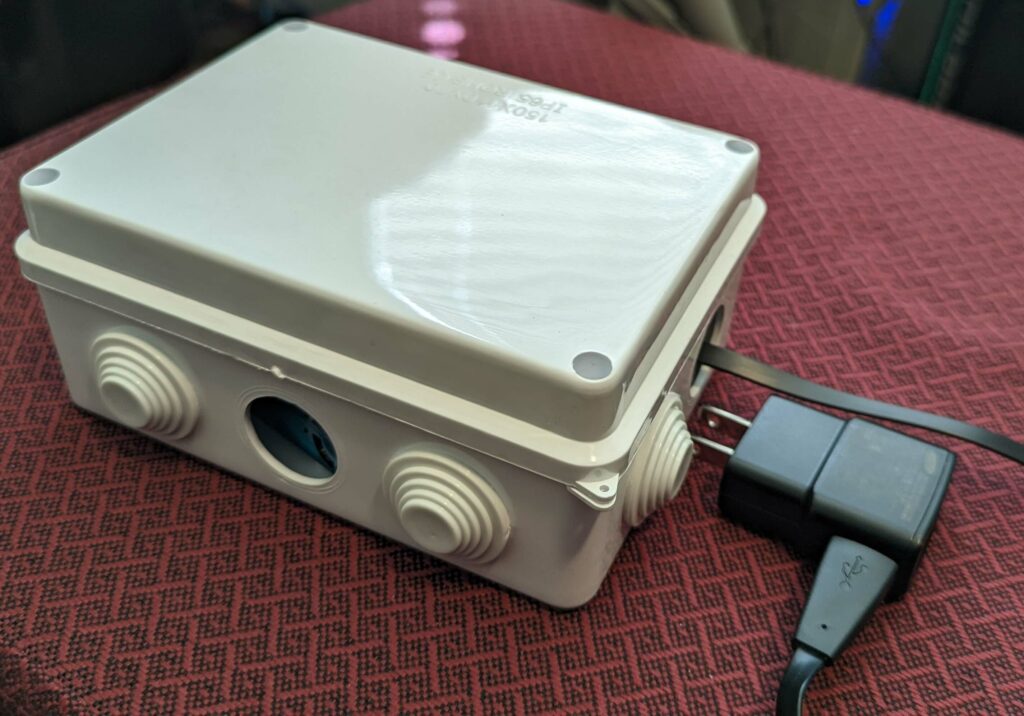
Here’s what it looks like all tucked into the project box:
And here is what the old and new ones look like when they are completed:

You probably can’t tell from the pictures but the new sensor box is less than half the size of the old one!
Integrating air quality monitoring with Home Assistant
These sensors are great, but I also want to track the air quality outside my house in Home Assistant and compare it to readings inside my home. I ended up using the AirNow Home Assistant integration, which works in the US. If you are outside the US, you might want to look into WAQI or AirVisual.
The AirNow integration provides a PM2.5 sensor that tracks particulate matter (PM) that has a diameter of fewer than 2.5 micrometers just like my sensors. It also has an air quality sensor. To use it:
- Set up an API with AirNow by signing up at their AirNow Developer Tools Page. After signup, they will email you with a confirmation code to activate your account. This is also your API key (make sure to activate your account before proceeding).
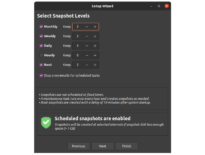
- You can set this integration up via the Home Assistant UI. In Home Assistant, go to Settings -> Integrations and click + ADD INTEGRATION. Search for AirNow. Verify that the latitude and longitude are correct for where you want to track air quality. Enter in your API key and press submit.
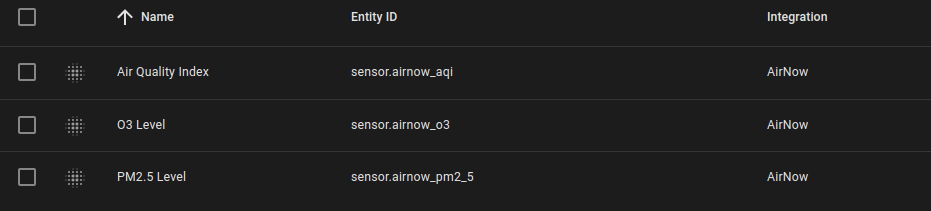
- The integration will create 3 sensors as you can see below:
I then added the Air Quality Index and PM2.5 Level sensors to an entity card on my Home Assistant air quality dashboard:
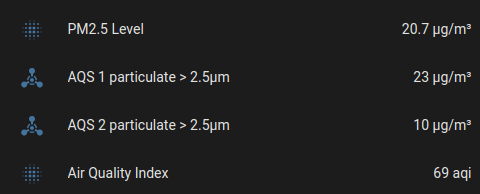
At this time, I actually had my AQS 1 sensor outside, so it was tracking well with the AirNow data.
Final thoughts
Well, I’ve gotten farther into air quality monitoring than I ever thought I would when I started this journey. But it is great to have a much better idea of the air quality in my home, and how outdoor air quality affects it. Now I’ll be able to make a much better-informed decision about whether to buy an air purifier (Editor’s note, I did decide to buy a smart air purifier) and where and when I should use it in my home.
Interested in supporting HomeTechHacker?
Have you found the content on this site useful? If so, are you interested in supporting me and this site? There’s no obligation of course, but I would really appreciate any support you can give. Below are a few ways you can show support:
- Share this site with your friends and on social media (use the sharing links at the end of this page for your convenience)
- Subscribe to this site
- Purchase one of my books, The Personal Cybersecurity Manual, The Home Network Manual or The Smart Home Manual, for yourself or as a gift
- Put a link to HomeTechHacker on a site you have access to. Be sure to let me know about it!
- Enroll in HomeTechHacker Academy for free and premium online home technology courses.
- Reach out to me via my contact page or Twitter and let me know something I should write about
- Shop at Amazon through my affiliate links and ads on these pages. See my disclosures for more details about affiliate links. You can also just shop from one of the links below:
- HomeTechHacker Shop: This is a listing of products that I use, have reviewed, and that I recommend
- HomeTechHacker Technology Advisor: This suite of tools will give you customized home technology product recommendations based on your needs
- My Amazon affiliate link: Just click on this link to go to Amazon and shop
Thank you! I really appreciate it!