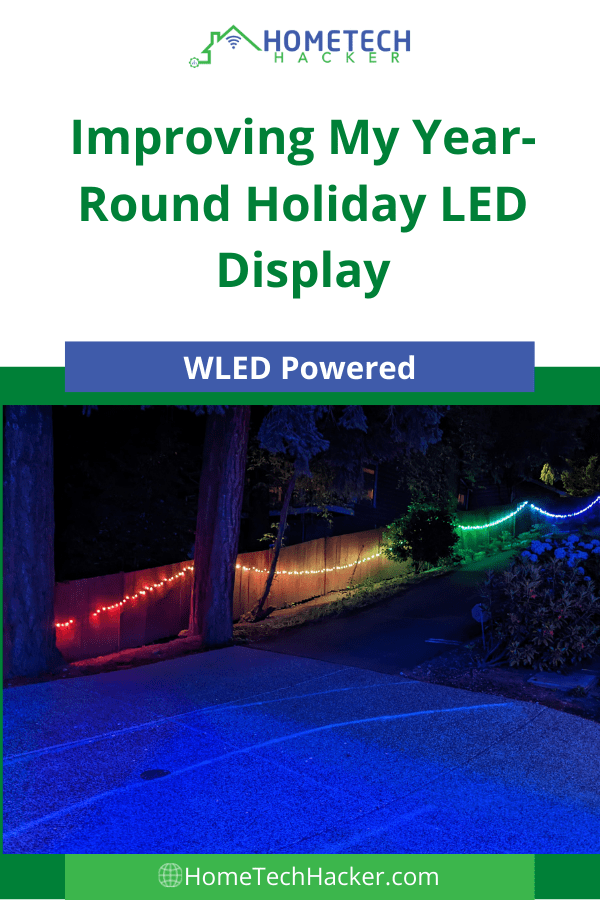
It’s been a few years since I first started getting into addressable holiday LEDs powered by WLED. A couple of years ago I expanded my LED display to permanent year-round holiday LEDs outside of my house. I have a long fence down my driveway entrance that I’ve always thought would look great with addressable LEDs. Still, I’ve never gotten around to attempting to install them there because Wi-Fi would be spotty that far away from the house for the NodeMCU-based controllers I use. But, I figured out a painless way to address this problem and install holiday lights. Let’s go through the parts, the installation, and the integration with Home Assistant.
This page contains affiliate links. If you purchase an item using an affiliate link I will receive a small commission at no cost to you. Affiliates do not influence my recommendations. Read my disclosures for more information.
Fence holiday LED parts
A lot of parts are involved in what seems like a simple project. Luckily, they aren’t too expensive and are easy to get.
LED controller
The first thing I had to figure out was what controller I would use. I’m already a big fan of WLED, so I knew I’d be using a WLED-compatible controller. The problem is that when I tested my regular NodeMCU-based WLED controller, the Wi-Fi antenna wasn’t strong enough to reliable function in the location where I wanted to install the controller.
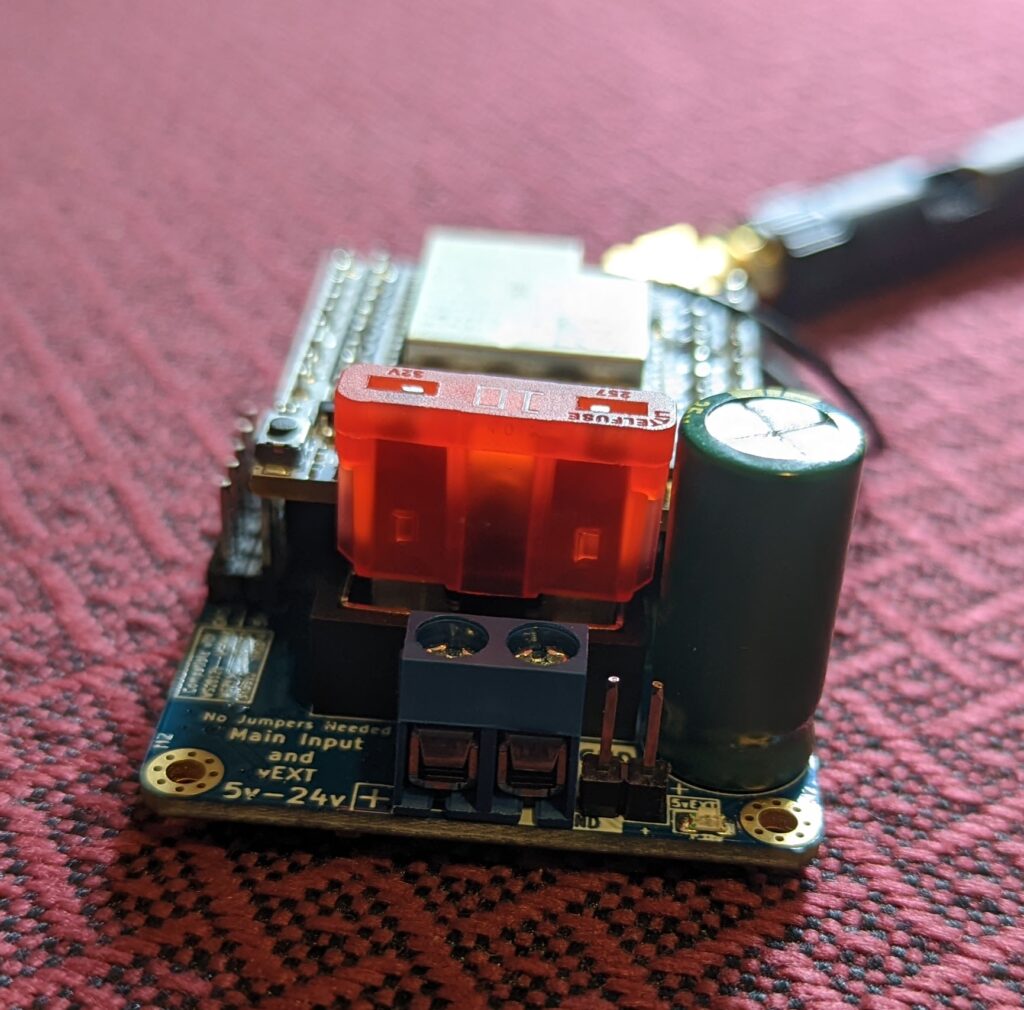
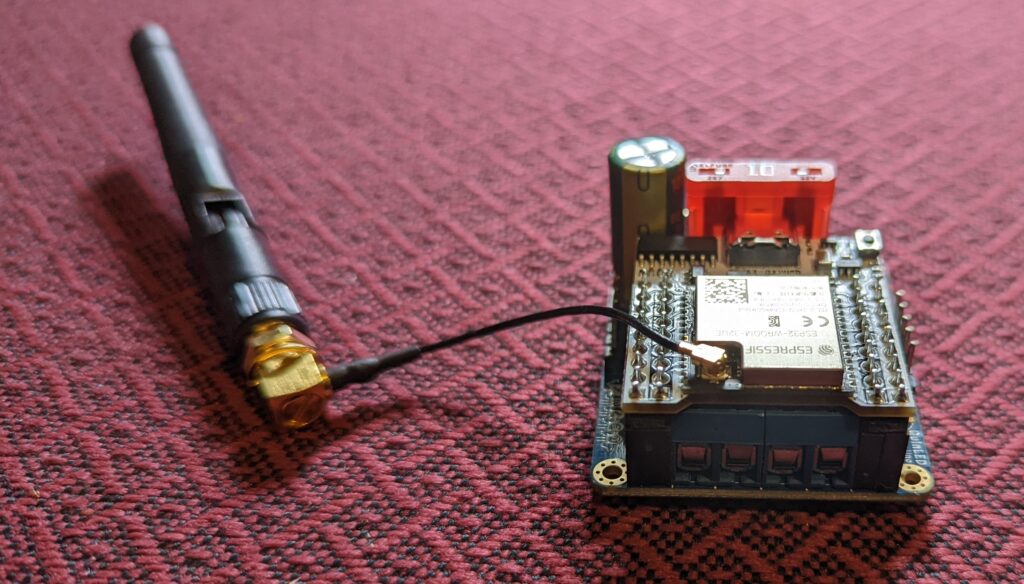
I decided to look into the QuinLED-Dig-Uno controllers. I used one a couple of years ago with the lights on my deck and they’ve improved the design even more. They have many benefits, including:
- A built-in fuse
- Automatic 5v-24v input circuit (you don’t have to do anything special like set a jumper when changing the voltages of the LEDs you are working with, but you still need to choose a power supply that matches the LEDs you are using)
- The latest version of WLED pre-installed
- The ability to control two sets of LED lights
For controlling 12V lights I used to purchase a NodeMCU, a step-down converter, and a logic level converter (needed if the data line from the NodeMCU to your LED lights will be long) and then still have to flash the firmware and put it all together using a breadboard and jumper wires. Dig-Uno controllers are ready to go out of the box and relatively inexpensive.
But I’ve buried the lead. There is a Dig-Uno controller with an external antenna! In my tests, this allowed the board to easily connect to my Wi-Fi from my fence, even inside of a waterproof project box. Speaking of the project box, let’s get to the other materials I used for this project.

LEDs, Wires, Connectors, Tools, and other equipment
I prefer 12V lights for longer runs, and I need this run to be about 120ft, which amounts to about 400 LEDs. I also need the LEDs to be waterproof, and the connections of the strings and power to be waterproof. Most LED strings are waterproof, but their connections aren’t. I was fully prepared to cut and solder the connections or encase them to make them waterproof, but I stumbled on some LEDs that come with waterproof connections:


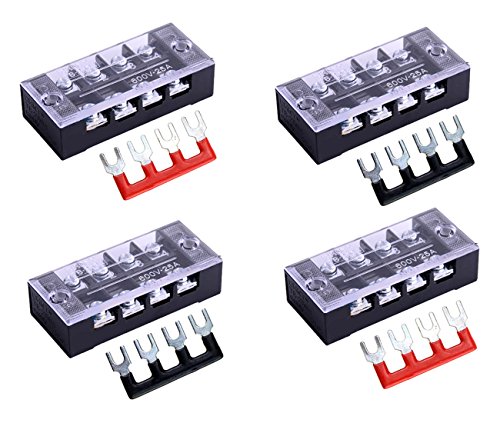
If you buy a pack of more than one strip, they also come with a T-connector for power injection. Speaking of power injection, I need outdoor-rated wire capable of carrying about 25 amps, a 12V power supply capable of delivering about 250 watts, connectors I can use to run and inject the power into the LED strings, and some terminal blocks for distributing the power from the power supply. Here’s what I bought (some of which I already had on hand):


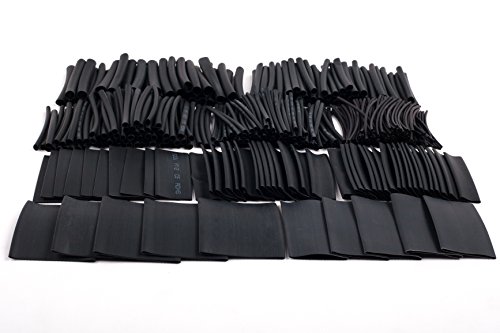
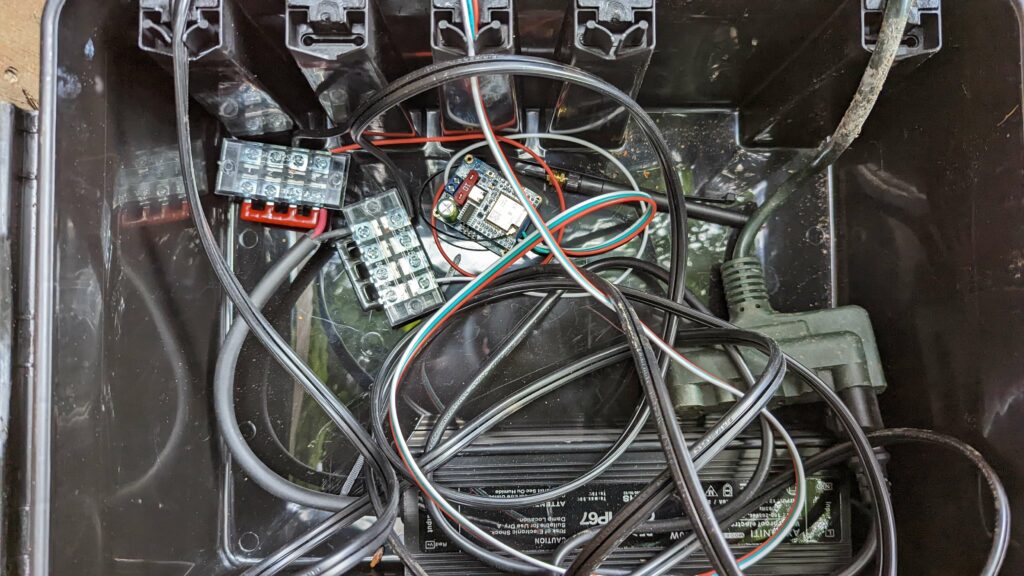
Importantly, I need a waterproof box to house the controller, terminal blocks, some wiring, and the power supply. I also use heat shrink wraps to protect soldered connections and some 18 AWG 3 cable wires for connecting the Dig-UNO to the LED string:


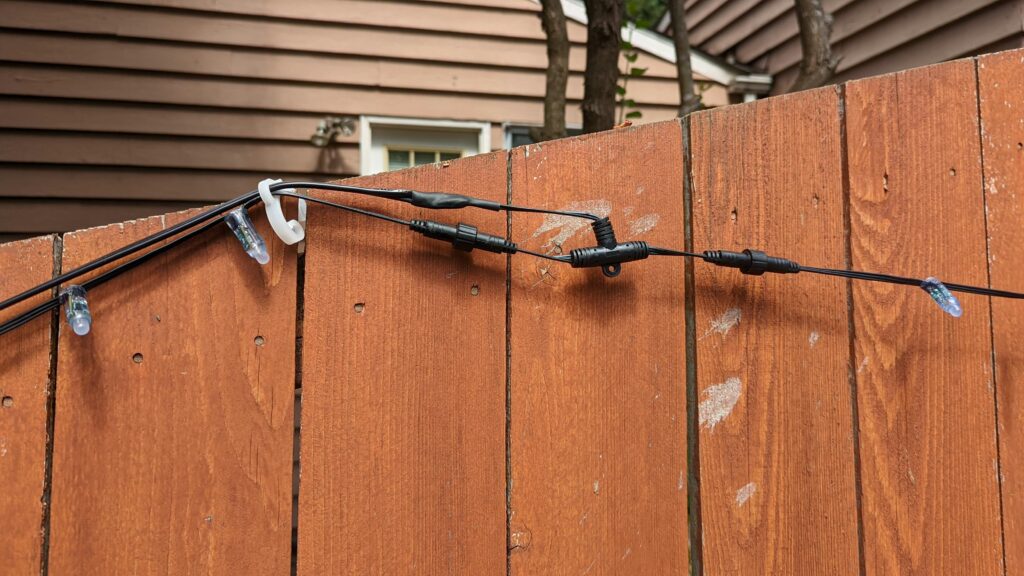
Last but not least, I use a set of tools to cut and strip wires, solder, and heat up the shrink wrap (you could also just use a lighter). I also used some banister light clips to attach the LED strings to the fence. Here’s what I have, which you can also find in the HomeTechHacker Shop under Smart Home Tools:


Fence holiday LED installation
To wire the Dig-UNO up, I just needed to provide power from the LED controller and then connect the positive, ground, and data wires to the beginning of the led strings. I soldered the waterproof LED connector that came with LED strings to some 18 AWG 3 wire cable so I can run the wire a little longer than the provided connector. I connected the 18 AWG cable to the Dig-UNO output.
Power for the power injection cables and Dig-Uno came from the 250-watt power supply via the terminal blocks. Here’s what it all looks like inside the project box:

Power injection
The hardest part of long LED installations is running power injections to combat voltage drop. With 12V LEDs strings, you probably don’t want any LED to be more than 100 LEDs away from a power injection point. Since I’m running 400 LEDs, I will inject power at the beginning of the LEDs (along with the data connection from the controller) and after the 100th and 300th LED. So really, only two additional power injections.
Instead of running two separate wires from the terminal block to each of the power injection sites, I simply ran one wire and connected it to a 2-wire waterproof T connector; with one connection taking power from the terminal blocks, one connection providing power at the power injection input of the LED strings, and the last connection ran wire to the second power injection location.
Here are some pictures that will hopefully help illustrate the connections:
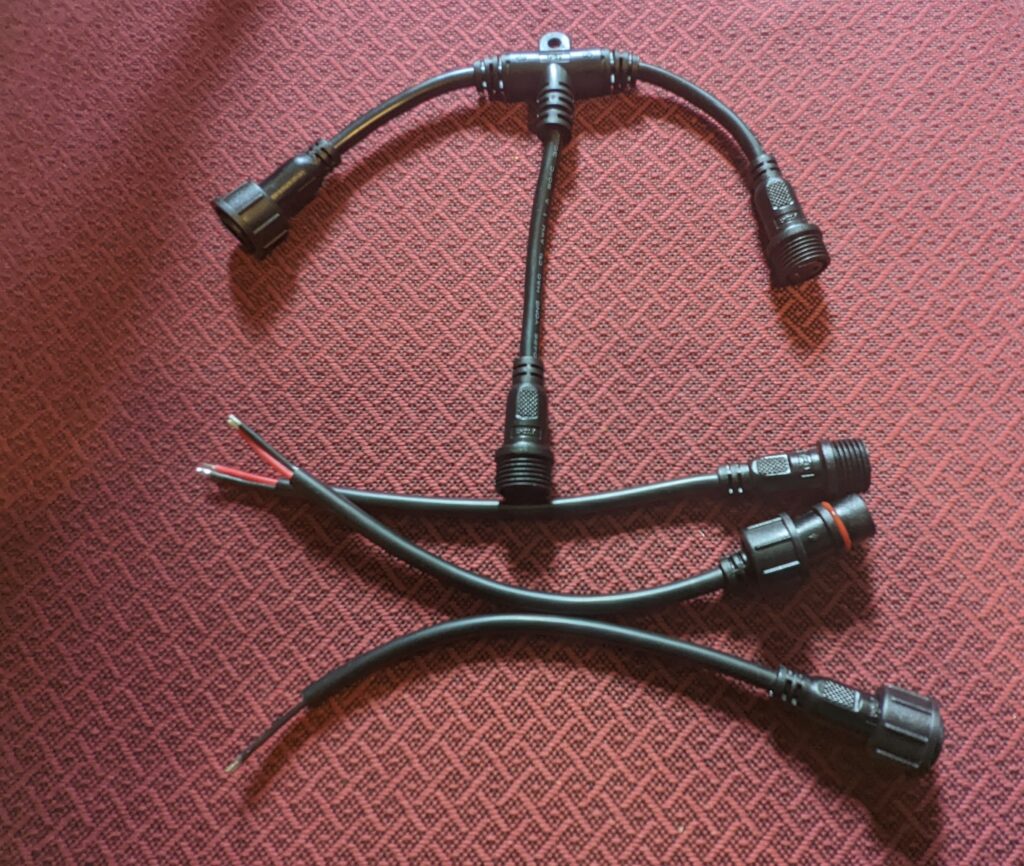
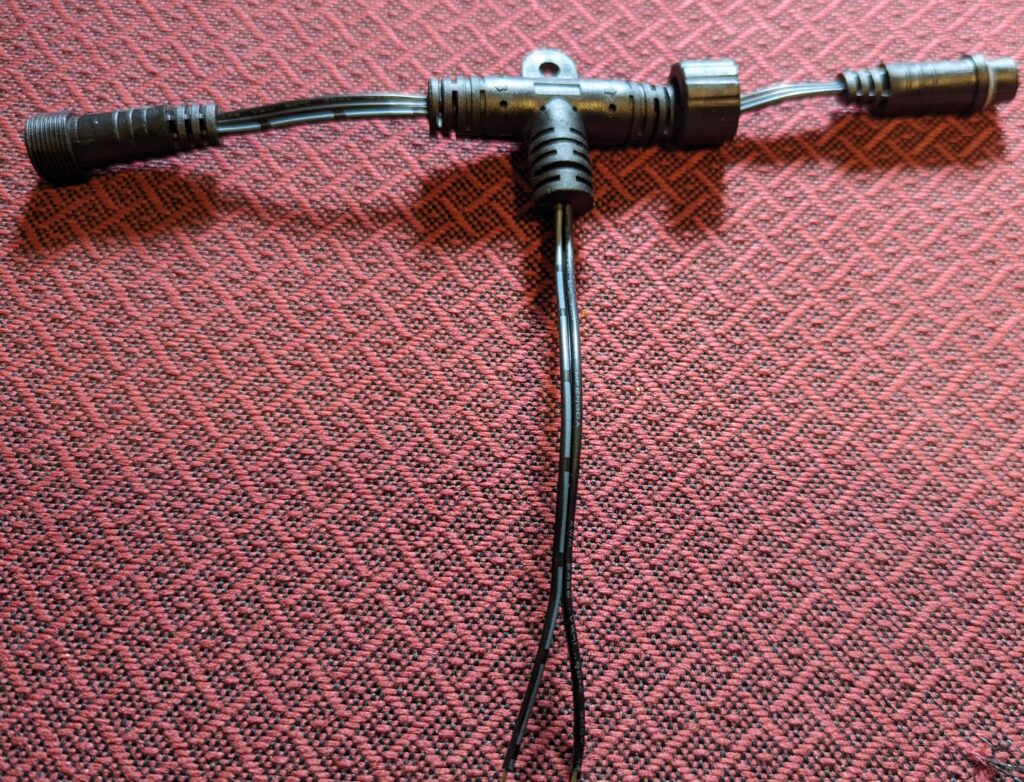
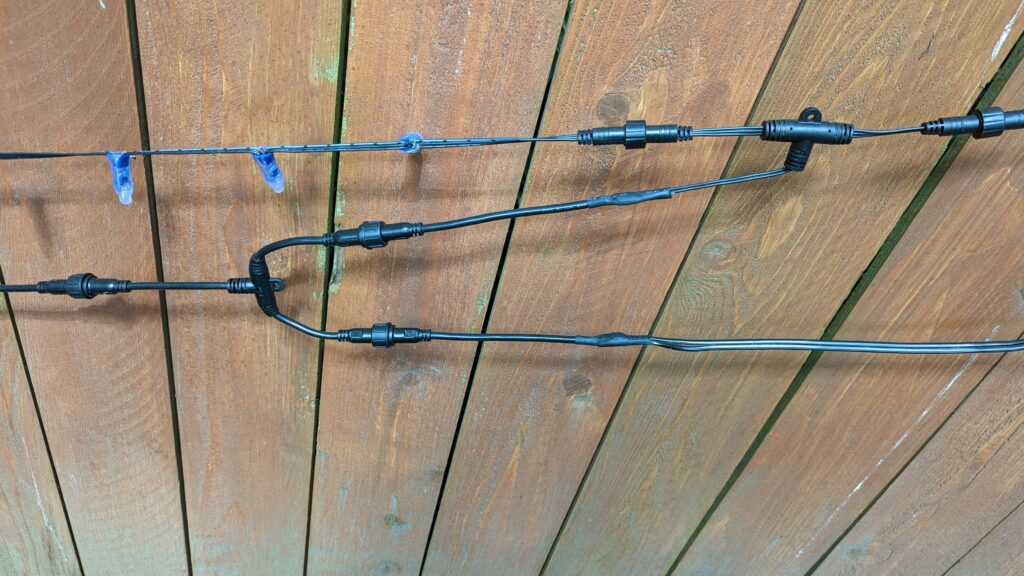
In the photos above, note the wires have been soldered to the waterproof connectors and protected with heat shrink tubing. On the left, there is an additional T connector to run the power injection wire to the power injection spot in the right image.
Integration with Home Assistant
I won’t go into detail about using WLED here, as it is well covered in their documentation and, for an older version, it’s covered in a WLED article I previously wrote. However, I will go over how to integrate WLED with Home Assistant and show a couple of examples of YAML automations.
WLED integration with Home Assistant is done via the UI. In Home Assistant, go to Settings->Devices & Services->Integrations and click the + ADD INTEGRATION button at the bottom right. Select WLED and then enter the hostname or IP address of the controller. All the necessary entities will be created for you.
In Home Assistant I primarily use the following three entities created by the WLED integration to control the fence LED lights:
light.fence_lights— This is a basic entity that I use to turn the light on and off.select.fence_lights_preset— I use this entity with theselect.select_optionservice to set a preset light configuration that I’ve created via the WLED interfaceselect.fenct_lights_playlist— I use this entity with theselect.select_optionservice to set a playlist of presets that I’ve created via the WLED interface
I have various automations that “theme” my year-round lights (e.g., Christmas, 4th of July, favorite sports team colors, Easter, etc.). If I want to set a preset using YAML code I would do something like:
service: select.select_option
target:
  entity_id: select.fence_lights_preset
data:
  option: Christmas
The option value in the code above must exactly match the name of the preset created in the WLED interface.
Setting a playlist is similar:
service: select.select_option
target:
  entity_id: select.fence_lights_playlist
data:
  option: Christmas Playlist
Again, the option value must exactly match the name of the playlist created in the WLED interface.
One thing to note is that you may need to reload the WLED integration before Home Assistant can see newly created presets and playlists.
Here’s a video clip of some of the light effects:
Final thoughts
I hope you found this article useful. WLED is truly wonderful, and so is the Dig-UNO. They make creating holiday and other themed LED displays a snap.
If this seems like too much work, you can always look into premade LED strings and strips, but they’ll probably cost you more.
Are you using LED lighting year-round at your home? Let me know on Twitter or in the comments.