Are you looking to add Wi-Fi 6 capabilities to your home without buying a new router? Or do you need faster, more stable, and increased range for your Wi-Fi? Either of these reasons should lead you to consider the Meraki Go GR12 Wi-Fi 6 access point, which is enterprise network provider Cisco’s product offering for home and small businesses. I got my hands on one and I will give you my thoughts about it in this review.
This page contains affiliate links. If you purchase an item using an affiliate link I will receive a small commission at no cost to you. Affiliates do not influence my recommendations. Read my disclosures for more information.
Specifications
![Meraki Go Indoor WiFi 6 Access Point | Cloud Managed | PoE | Cisco [GR12-HW-US]](https://m.media-amazon.com/images/I/11ctLO46IFL.jpg)
- WiFi 6: Up to 3x faster speeds than WiFi 5. 2x capacity – connect up to 100 devices at the same time
- QUICK & EASY SETUP: Get your network up and running in minutes. Simple, yet powerful management from anywhere using the Meraki Go mobile app or web portal
- SECURE & RELIABLE: Business-grade security that blocks malicious websites, malware, phishing, and other harmful threats. Stay connected and productive with devices powered by Cisco
| Model Name | Meraki Go GR12 Indoor WiFi 6 Access Point |
| Wi-Fi Radio | 2.4 GHz 802.11b/g/n/ax, 5 GHz 802.11a/n/ac/ax |
| Antenna Type | 2×2 MIMO (2 spatial streams) internal omnidirectional |
| MIMO Support | SU-MIMO and MU-MIMO |
| Ethernet Interface | 1 x Gigabit Ethernet (RJ-45) PoE 802.3af compatible |
| Power | 5.5mm x 2.5mm DC Power connector (12 V DC, 15W max draw) |
| Dimensions | 7.95 x 5.55 x 1.02 inches |
| Weight | .73lb |
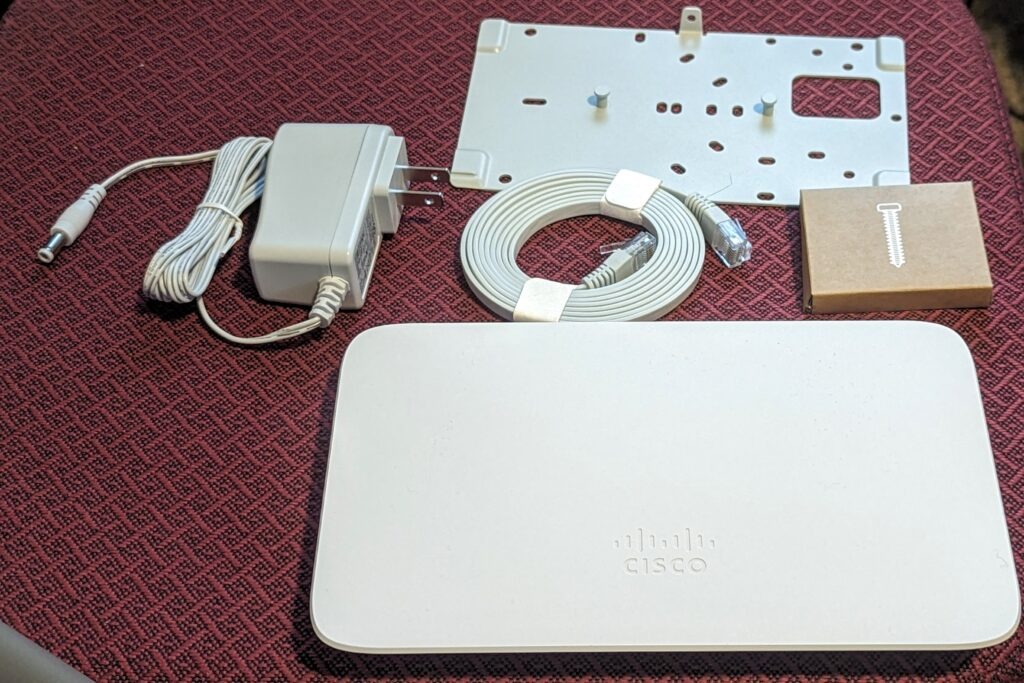
The Meraki Go GR12 comes in a box that includes an ethernet cable, a mounting plate, mounting hardware, and a DC adapter.
Setting up the GR12
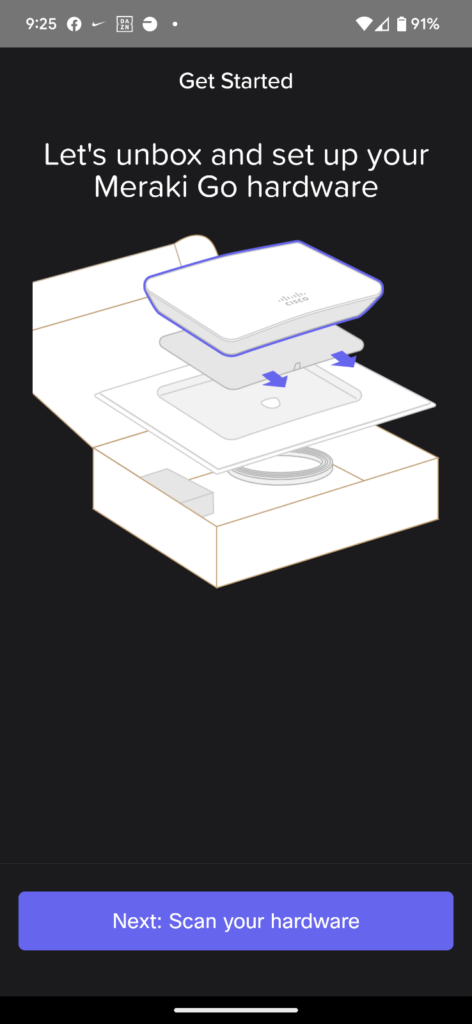
The GR12 is a cloud access point, meaning administration is supposed to be through Meraki’s cloud platform. Accordingly, you are directed to download an app and create an account by going to https://meraki-go.com/starthere. After you create an account (and curiously for home users you are forced to enter a name for a company) you go to the setup screen.
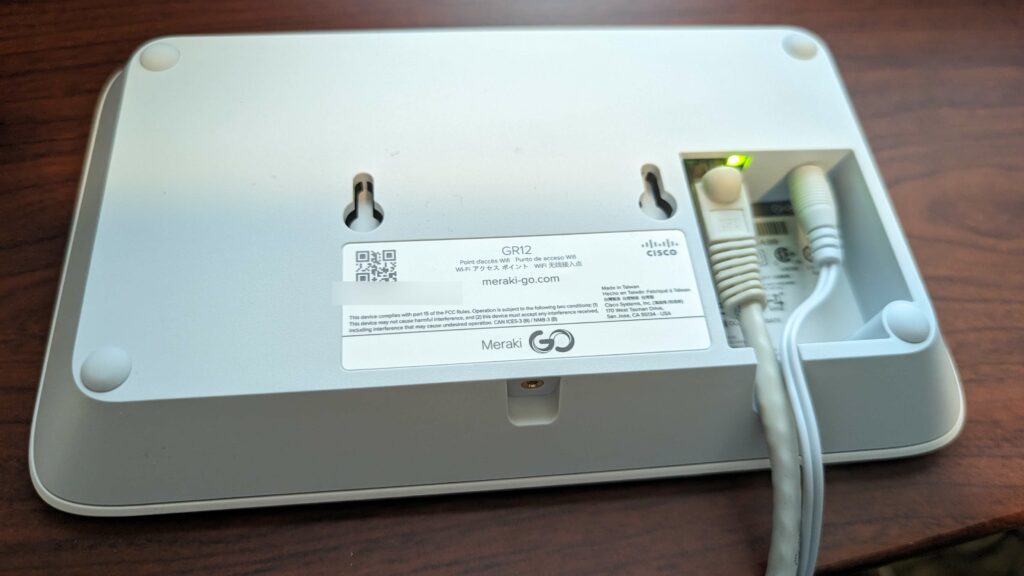
There is a QR code on the GR12 that you scan, and then you name the device. After that, it’s as simple as plugging in power and an ethernet cord from your router or switch.
The cloud web app interface
You can configure the GR12 from the mobile app or from the web app. They are functionally the same. I’m old school, so I chose to log into the Meraki cloud portal and configure it from there.
Below is what the cloud web app interface looks like when you first log in and haven’t configured anything:
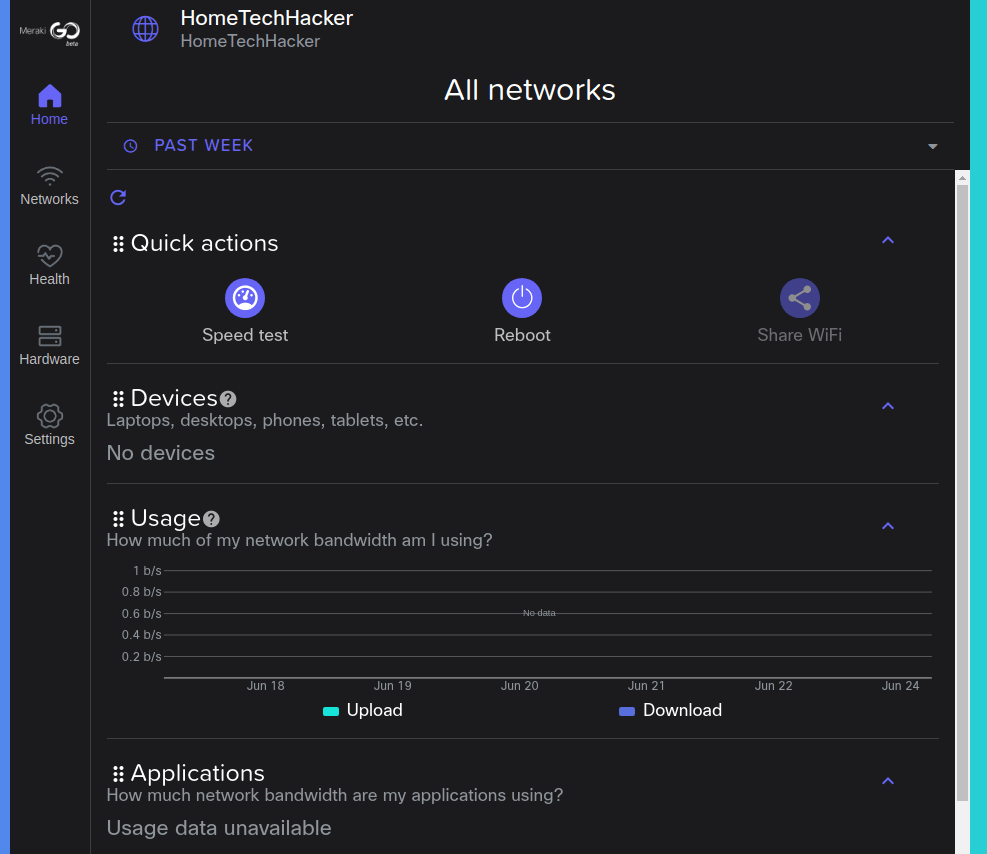
You can see some easy access functions like the Speed test and Reboot. You can also quickly see which devices are connected, usage data, etc. Note, I don’t have anything showing because, at this point, I haven’t even configured a Wi-Fi network.
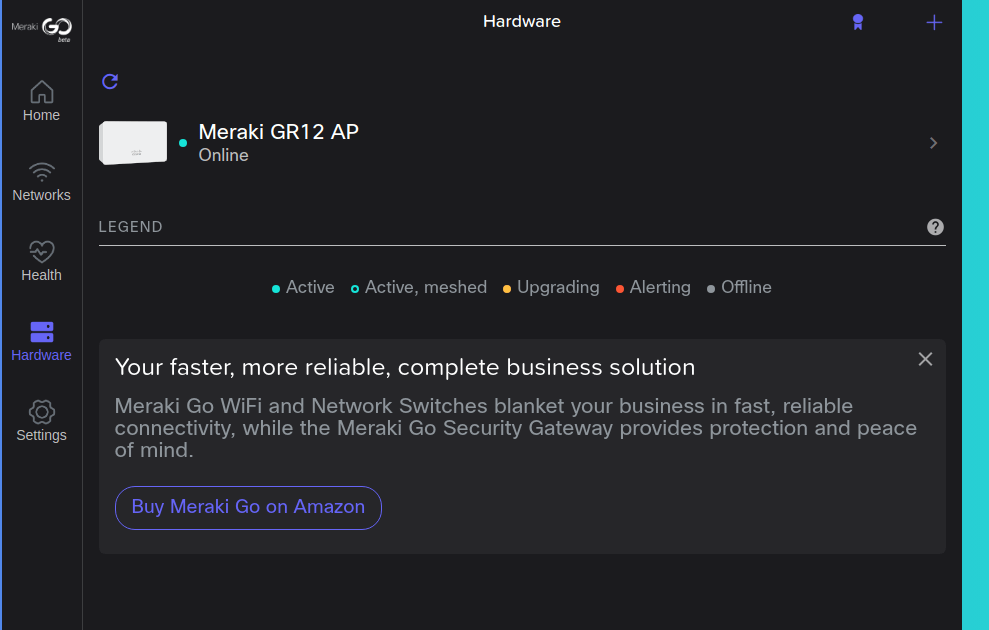
On the Hardware screen, you can see the status of your Meraki hardware. I only have one Meraki device (for now). Clearly, from the Amazon link in the interface, they are already encouraging me to buy more.
Below you can see what the home screen looks like when you’ve added a network and connected a device:
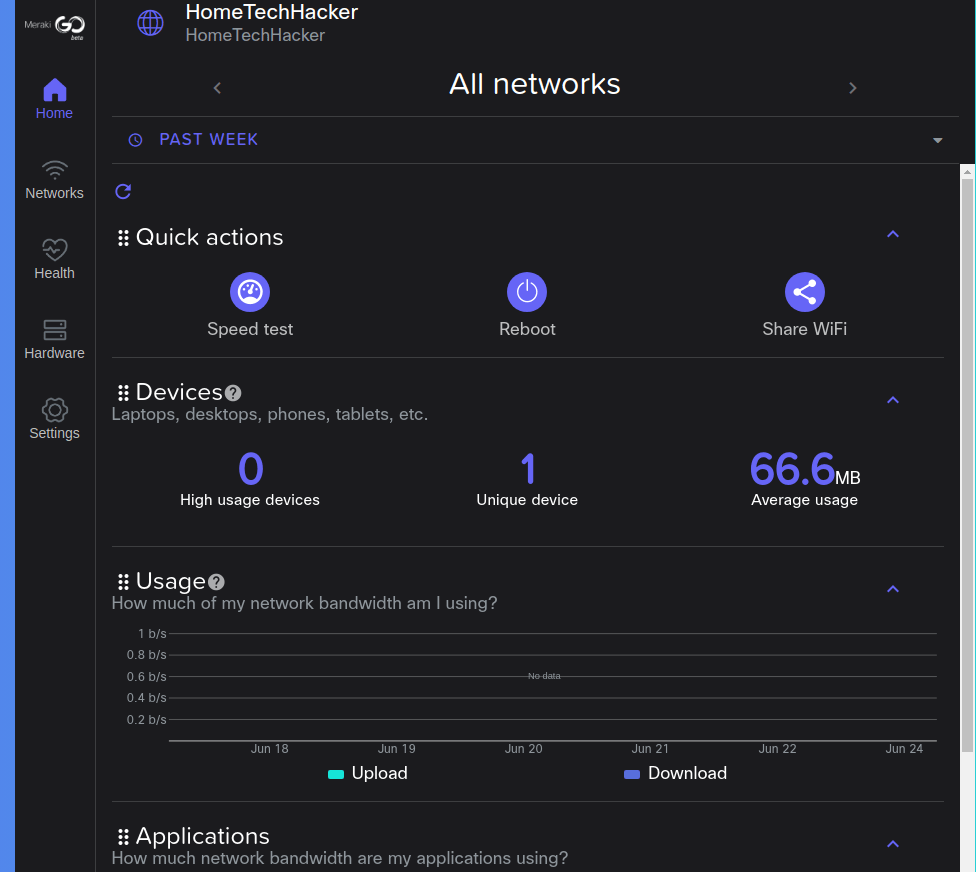
Interestingly, by default, networks are set up to allow devices to connect in “NAT” (Network address translation) mode. This ensures client devices are on a different subnet than the AP, and isolates them from other client devices. However, you can switch to bridge mode at the individual SSID level, allowing your devices to work with your regular DHCP server and network subnet.
In the next section, I’ll go over some of the other configuration options and capabilities.
GR12 capabilities
The Meraki Go GR12 is packed with features, including:
- WPA3 — You can set each SSID to WPA3, WPA2, or a mixed mode supporting both.
- Guest network — You can set networks to disable which will stop clients that connect to the guest network from being able to access your other network devices. This is an important home network security feature.
- Scheduling — You can schedule when each Wi-Fi network is online and offline. One use of this is for a guest network that you don’t want to always be available
- Usage limits — This is a QoS (Quality of Service) feature that allows you to prioritize network traffic.
- Web blocking — You can block clients from connecting to specific domains.
- Radio Settings — You can specify whether or not a network runs dual-band (2.4 GHz and 5 GHz at the same time), or 5 or 2.4 GHz only. You can also enable band steering in dual-band mode.
All of these are easy to configure using the G12’s interface.
GR12 performance
This isn’t a scientific breakdown of the performance. I will provide real-world results of how well the Meraki GR12 works in my home. I have a somewhat large two-story home with a basement.
Speeds are fast when close to the device. I measured download speeds up to around 800 Mbps (using a 5 Ghz connection) when right by the access point. Speeds drop steadily as I move further away from the access point. At about 30 feet, speeds dropped to around 200 Mbps.
When I place the GR12 in the middle of my home I can get a decent signal with decent speeds almost anywhere in my home. The edges are a little weak for 2.4 GHz and don’t work well for 5 Ghz, but that is to be expected in a large house.
When I place the G12 on one end of the floor, the 5 GHz signal is unusable on the other end of the house, even on the same floor. This is to be expected. The 2.4 GHz signal is weak and spotty at the other end of the house, and wouldn’t be something I wanted to rely on.
This exceeds the performance of the other access points in my house, which brings me to the next section.
Alternative Wi-Fi access points
I already own two other Wi-Fi 6 access points, the TP-Link EAP 610 and the TP-Link EAP 620. I’d say the performance of this access point exceeds those. And it should; The Merak Go GR12 has much better hardware than those access points (faster processor, more RAM, new radios). But, it is also more expensive.
However, I prefer the Omada controller to the Meraki Cloud Web app because it runs locally (but can be accessed via the cloud) and has a few additional features (like the ability to customize a captive portal).
I also have reviewed the Zyxel NWA50AX access point. It’s a good alternative if you are looking for value and a good set of comparable features at a lower price.
Below are some additional Wi-Fi 6 access points you may want to consider. You can also use my Wi-Fi 6 Access Point Technology Advisor for personalized recommendations.


Final thoughts
The Meraki Go GR12 has great performance, an easy-to-use and feature-filled interface, and comes from one of the most reputable network hardware companies (Cisco). There’s a lot to like. I recommend you strongly consider this Wi-Fi access point if you’re looking for a high-quality and reliable way to add Wi-Fi 6 to your home and/or improve the quality of your Wi-Fi.