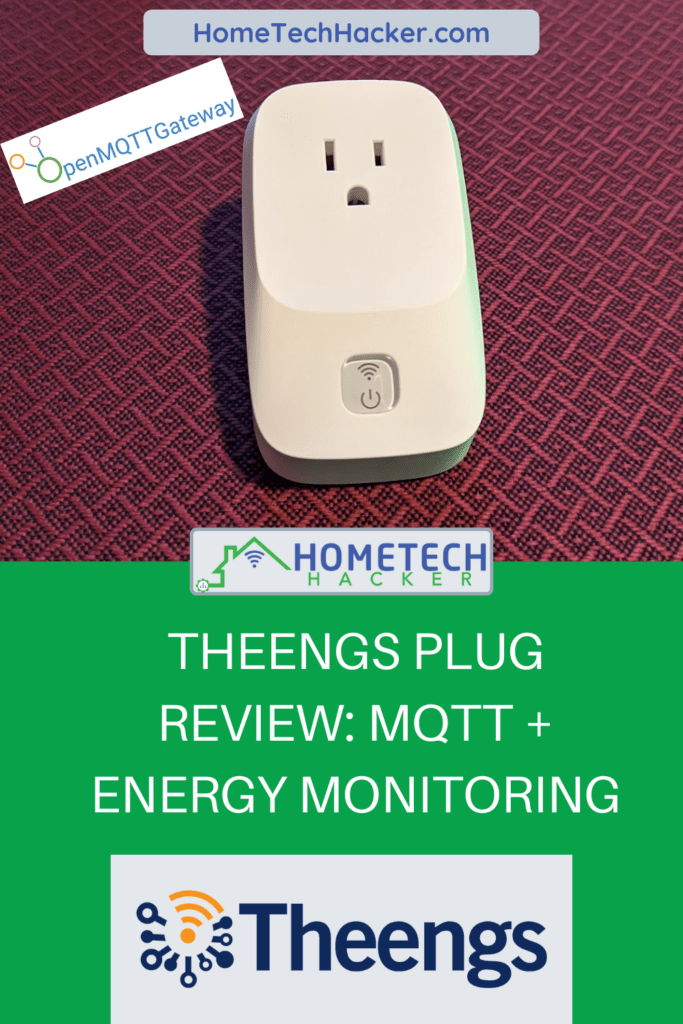
In a crowded Wi-Fi smart plug market, it is hard for any particular device to stand out. However, the Theengs Plug brings unique capabilities that no other widely available prebuilt device does. What makes the Theengs Plug unique and special? You’ll just have to keep reading to find out.
This page contains affiliate links. If you purchase an item using an affiliate link I will receive a small commission at no cost to you. Affiliates do not influence my recommendations. Read my disclosures for more information.
Table of Contents
Background
Smart plugs are usually one of the first devices I recommend to people wanting to get into smart homes. They are easy to understand and use, and there are many to choose from. Consequently, they aren’t usually a device I’m excited about.
I own a lot of smart plugs, including TP-Link (and their Tapo Matter-enabled plug), Shelly, Gosund, Z-Wave, and Zigbee smart plugs. Generally, the biggest differentiators are price, protocol (depending on where the plug will be I prefer different protocols), and whether or not they do energy monitoring.
But the Theengs Plug brings something completely different to the table. It is preloaded with the OpenMQTTGateway.
What is OpenMQTTGateway?
The goal of OpenMQTTGateway is to simplify smart homes by decreasing the number of physical bridges needed to control multiple technologies by using MQTT. The technologies OpenMQTTGateway supports are LoRa, RF (433 and 315 MHz), GSM/GPRS, infrared, and Bluetooth Low Energy (BLE).
In theory, if you have an OpenMQTTGateway-enabled device that supports these protocols it can relay control of those devices to MQTT-enabled hubs and tools like Home Assistant, openHab, and Node-RED.
You can learn a lot more about OpenMQTTGateway in their official documentation.
I also wrote an article where you can learn more about MQTT and how to set up a broker.
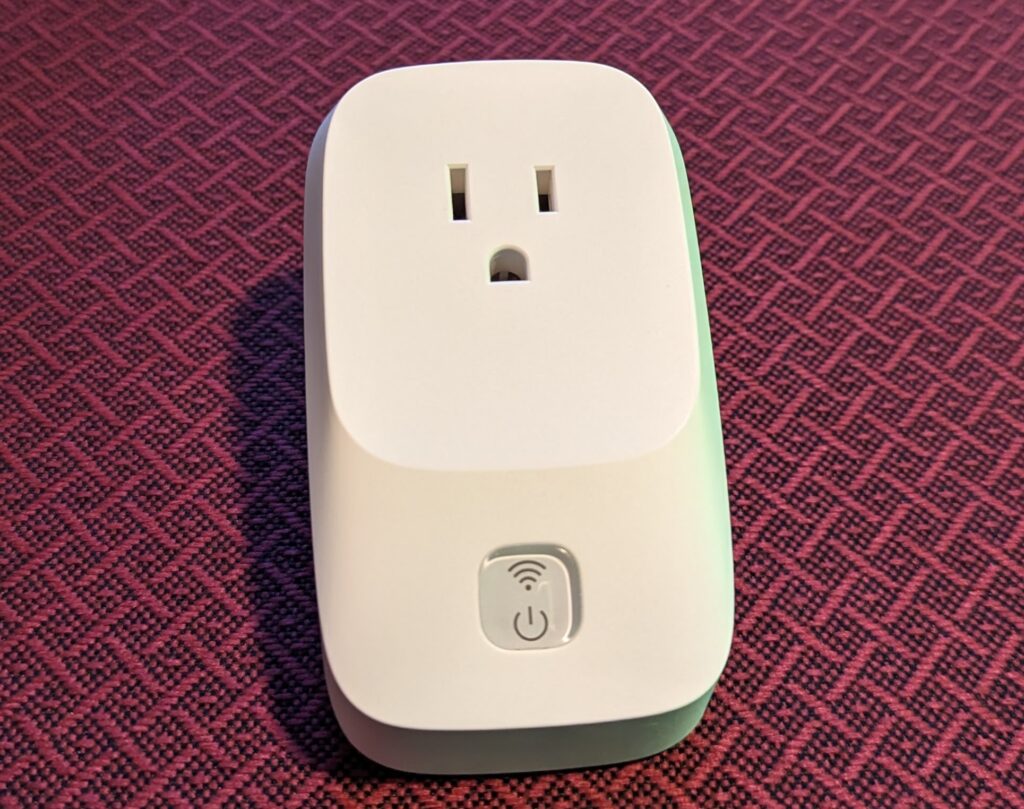
Theengs Plug specs and description
| Power Supply | 100-120VAC, 60Hz |
| Max current | 15 amps |
| Dimensions | 4.05 x 1.37 x 2.4 inches |
| Microcontroller | ESP32 |
| Wi-Fi | 802.11 b/g/n (2.4 GHz) |
| Protocols | MQTT, Bluetooth Low Energy (BLE) |
As mentioned earlier, the Theengs Plug runs OpenMQTTGateway. It supports over 70 BLE devices. This means it can serve as a bridge between compatible BLE sensors and devices and MQTT-enabled smart home hubs. I’ll go into more detail about my experience with this later in the article.
Theengs Plug set up
Quite frankly, I could not make a better setup guide than the one that already exists in the official documentation. I’ll just briefly describe the process:
- Plug it in
- Connect to the device’s Wi-Fi access point (note the password is the last 8 digits of the device’s MAC address, which is printed on the side of the device)
- A web page should automatically pop up where you can configure the device to connect to your Wi-Fi and MQTT (optional) networks.
That’s it! Then you are ready to go.
Using and Controlling the Theengs Plug
Controlling the Theengs Plug is automatic if you are a Home Assistant user. Assuming you have MQTT setup and have autodiscovery turned on the Theengs Plug will be automatically available for control and monitoring. You get a dizzying array of entities to monitor and control:
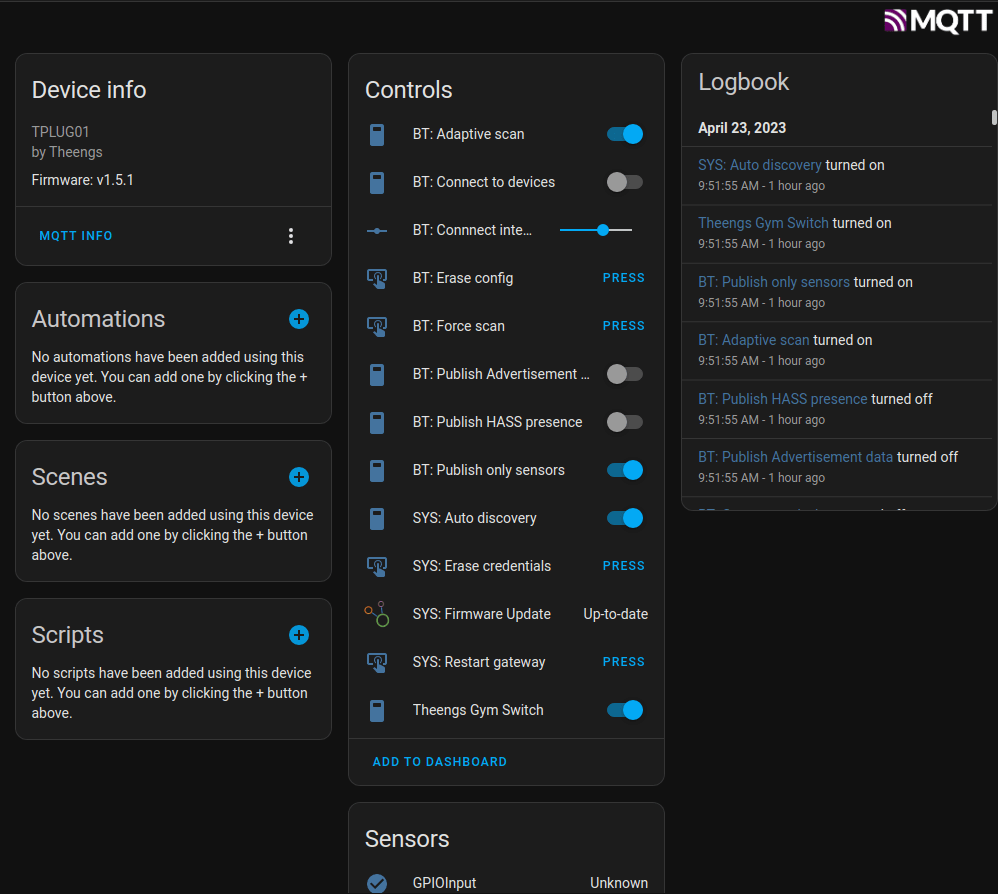
The main entity for me is the Theengs Gym Switch (my custom name) which allows me to toggle the device on and off. It’s cut off in the image above, but there are also sensors that report the energy usage in watts, voltage, current, Wi-Fi signal strength, IP address, and more.
Controlling the Theengs Plug via MQTT
You can control the smart plug by just using MQTT commands. For instance, you can do things like turn the plug on and off, change the Wi-Fi credentials, read the energy usage, and much more by issuing MQTT messages and subscribing to MQTT topics.
Here are some examples of controlling it using mosquitto_pub and mosquito_sub:
Turning the plug (the actuator inside of it) on and off:
#on
mosquitto_pub -h <mqttbrokerIP> -u <username> -P <password> -t home/<MACADDRESS>/commands/MQTTtoONOFF -m '{\"cmd\":1}'
#off
mosquitto_pub -h <mqttbrokerIP> -u <username> -P <password> -t home/<MACADDRESS>/commands/MQTTtoONOFF -m '{\"cmd\":0}'
Getting the voltage, current, and power:
#on
mosquitto_sub -h <mqttbrokerIP> -u <username> -P <password> -t home/<MACADDRESS>/RN8209toMQTT -v
You can find more things you can do with MQTT in their official documentation.
Physical control
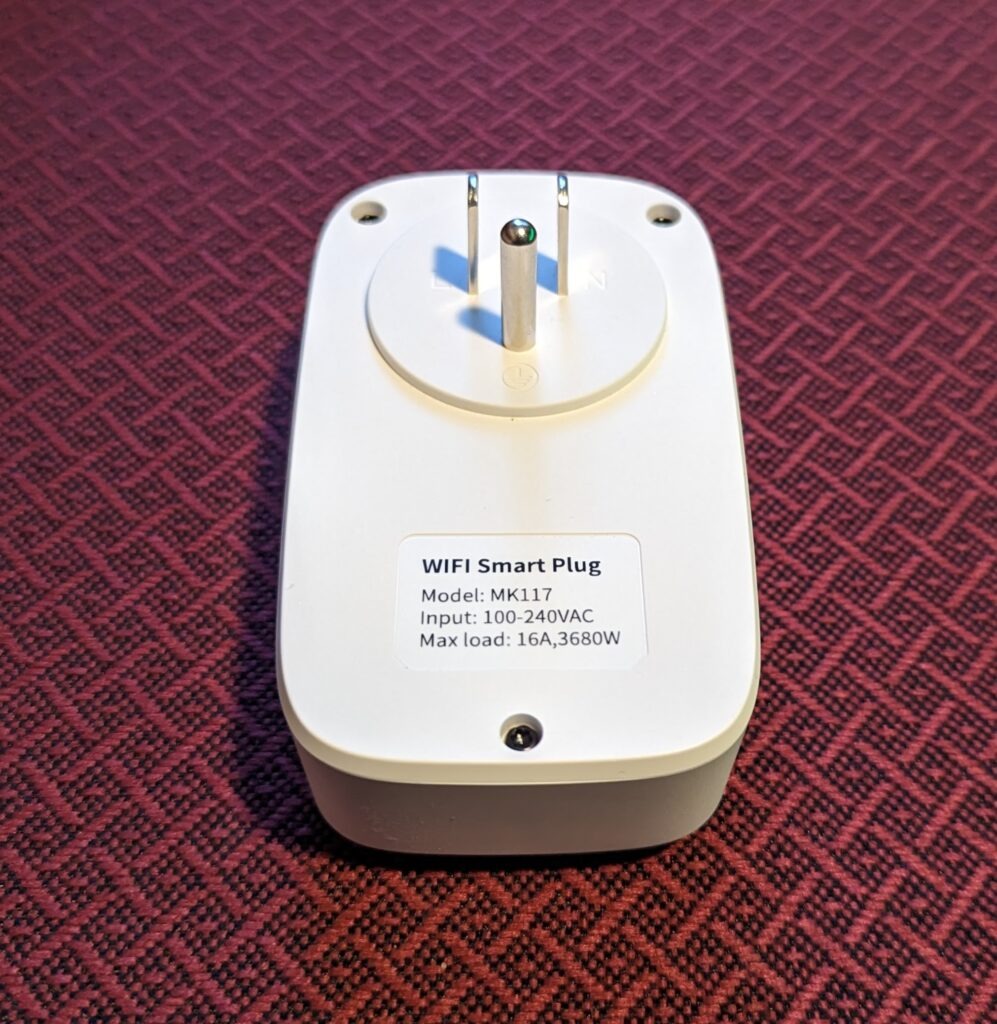
Below is a picture of it plugged into a socket. The button at the bottom is also an LED with colors that indicate the status of the smart plug. You can press the button to toggle the power being provided to the device that is plugged into the smart plug.
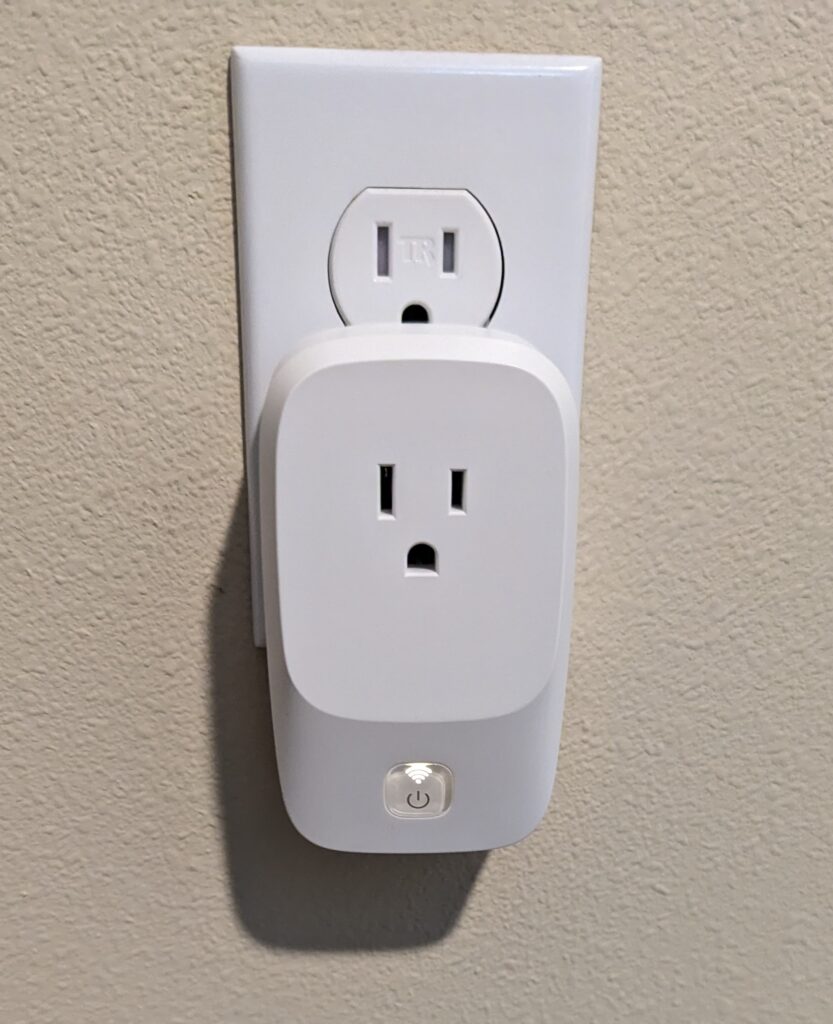
The only gripe I have with this smart plug is that it can only be plugged into the bottom plug if you don’t want it to completely block both outlets. And, even when plugged into the bottom plug it partially blocks the ground input on the top plug. This can easily be alleviated with a short extension cord.
Adding a sensor using the Bluetooth gateway (OpenMQTTGateway)
The best and unique feature of the Theengs Plug is its ability to act as BLE gateway, which is why I was interested in this product. I have a room in my house where I want to put a temperature sensor. I also have a use for an energy-monitoring smart plug there.
The room where I want to monitor the temperature is too far away from my Home Assistant box to connect via Bluetooth. I could buy a Wi-Fi or a Z-Wave sensor, but they are much more expensive than Bluetooth sensors. This is where the Theengs Plug shines.
To test this I used a Bluetooth Govee Hygrometer. It is a BLE sensor that usually requires an app in Bluetooth proximity to store readings. However, the Theengs Plug discovers it automatically and then, using MQTT, publishes the temperature and humidity readings as sensor entities in Home Assistant. In fact, the Theengs discovered and published Home Assistant sensors for a SwitchBot Hygrometer I have in a different room, the Govee, and even my Polar H10 heart rate monitor that I use when I work out in the room.
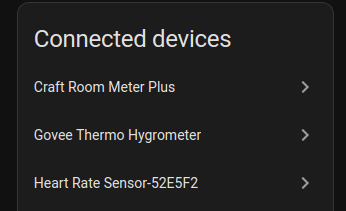
As you can see below, it created a Govee device in Home Assistant with battery, humidity, and temp entities. I didn’t have to do anything but make sure the Theengs Plug had auto Discovery turned on. Amazing!

Final thoughts
There are a lot of smart plugs out there. In fact, you can find one that fits you using our Home Technology Smart Plug Advisor. But you won’t find any out there quite like the Theengs Plug. If you’re looking for an easy-to-use BLE gateway bundled with an energy-monitoring smart plug, the Theengs Plug is the device for you and you should buy it without hesitation.
If you are just looking for the BLE gateway functionality, you should also check out my review of the Theengs BLE Bridge.