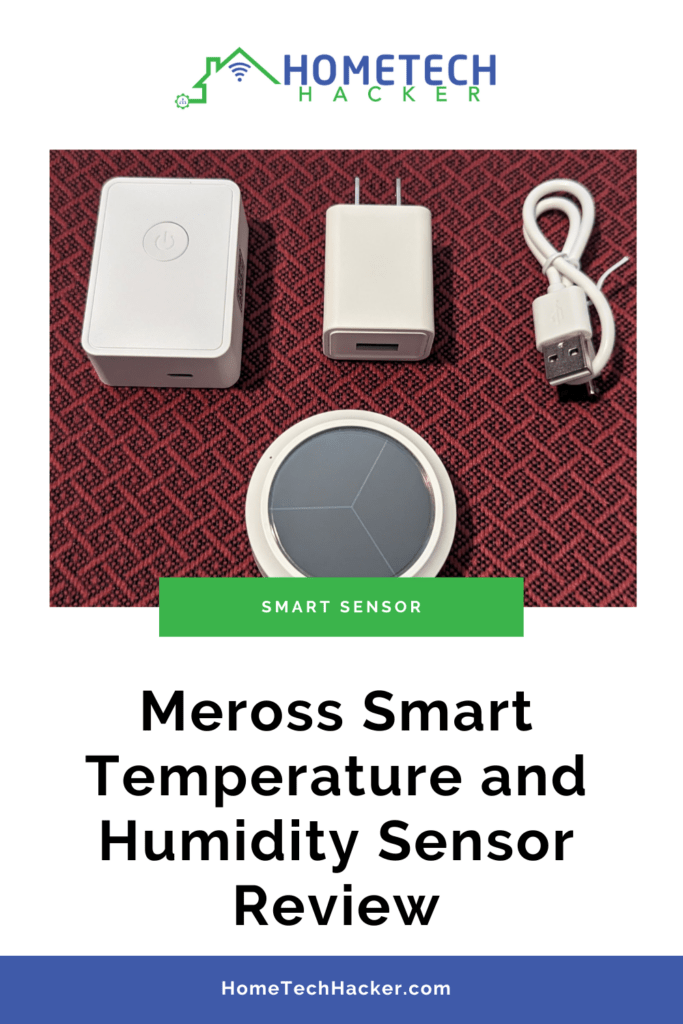
Lots of smart home companies make temperature and humidity sensors. Sometimes it is hard to figure out which one to buy. I own a dozen or more, ranging from sensors I’ve made to devices that specialize in other things but also measure temperature and humidity. I recently got my hands on the Meross MS100F smart temperature and humidity sensor. There are a few features it has that make it worth considering over competitors. Read on the find out what they are.
This page contains affiliate links. If you purchase an item using an affiliate link I will receive a small commission at no cost to you. Affiliates do not influence my recommendations. Read my disclosures for more information.
Table of Contents
Meross MS100F specifications
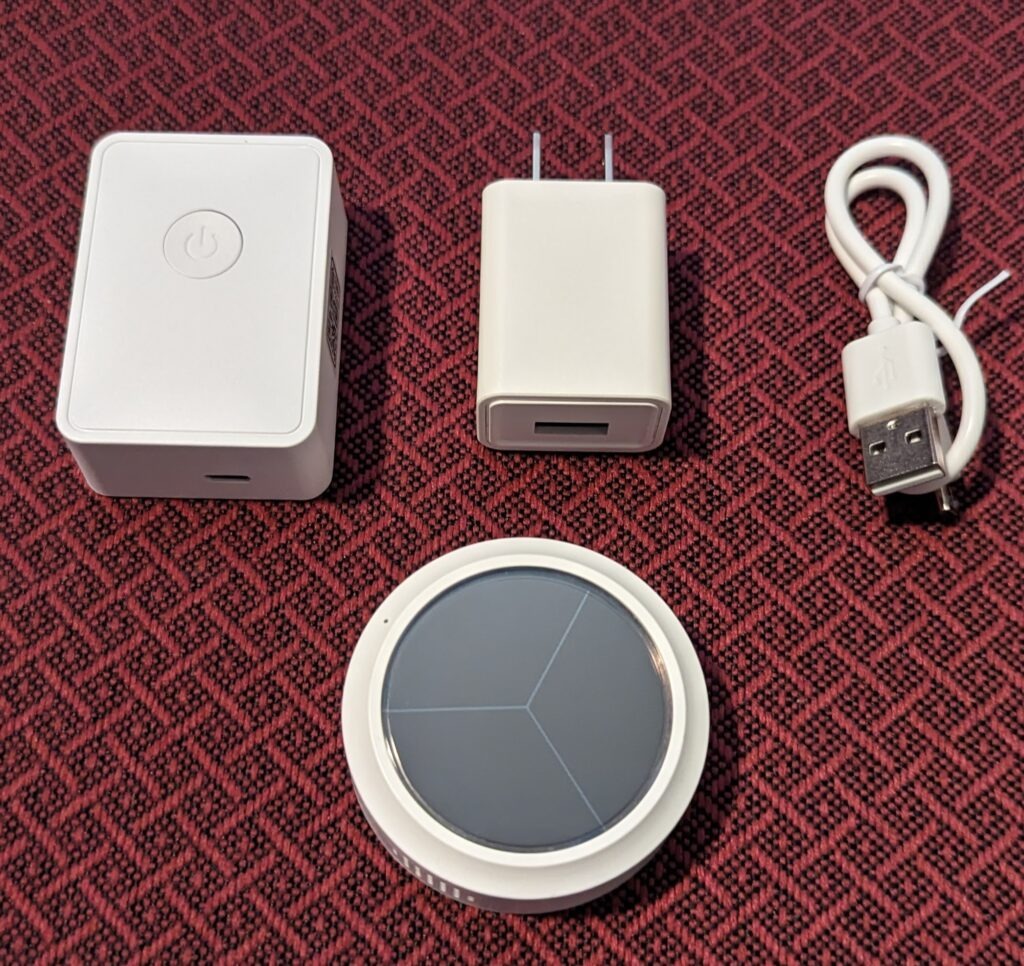
Technically, I have the Meross MS100FHHK kit which adds the Meross Wi-Fi smart home hub (the MSH300HK). The hub makes the device available via the cloud and adds integration with other ecosystems like Alexa, Google Assistant, and HomeKit. If you already have one of those, you don’t need the kit, just the sensor.
I will list the specs for both devices below:
Meross MS100F Temp and Humidity sensor specs
| Temperature range | -10°C~50°C (14°F~122°F) |
| Humidity range | 0-95% |
| Power supply | Solar (ambient microlight collection) + CR2477 battery |
| LED | 1 status LED |
| Dimensions | 2.2 x 2.2 x 0.73 in. / 56 x 56 x 18 mm |
| Weight | 40g (1.4oz) |
| Wireless standard | 433MHz (for communication with smart hub) |
I should note that Meross has another similarly named temperature and humidity sensor, the MS100. It is a different model that doesn’t include the ambient microlight collection.
Meross MSH300HK Wi-Fi hub specs
| Dimensions | 2.32 x 1.61 x 0.83 in. / 59 x 41 x 21 mm |
| Weight | .88oz |
| Wireless standard | 802.11 b/g/n 2.4GHz Wi-Fi 433MHz for communicating with devices |
| Power | 5V DC, 500mA (5V/1Amp micro-USB adapter and cord included) |
| Compatible devices | HomeKit Integrated Hub MS100, MS100F, MS200, MS400, MTS100, MTS150, MTS150P, GS559A Non-HomeKit Integrated Hub MTS100, MS100 |
| Ecosystem integrations | Apple HomeKit, Google Assistant, Amazon Alexa, Samsung SmartThings, Home Assistant |
The Wi-Fi smart hub pairs with Meross low-energy devices to make them available via the Meross app and smart assistants. It can support up to 16 devices at once. You need the Wi-Fi Hub to utilize the Meross MS100F sensor.
It’s compact and easy to power. But, I wish it used a USB-C connection instead of a micro-USB. I also wish it supported 5GHz Wi-Fi signals like 802.11ac. Few smart devices support 5GHz signals, however.
You can buy the device directly from Meross:
Editor’s Note: You can save 10% on your order from the Meross store if you use our exclusive coupon code: HTH10.
Setting up the Meross MS100F
Setting up the Meross MS100F is a snap, but first, you’ll have to create an account with Meross and set up the Wi-Fi hub if you haven’t already. Let’s walk through the steps. You can skip to step 5 if you’ve previously configured the Wi-Fi hub and created a Meross account
- Download and install the Meross app (Android | iOS)
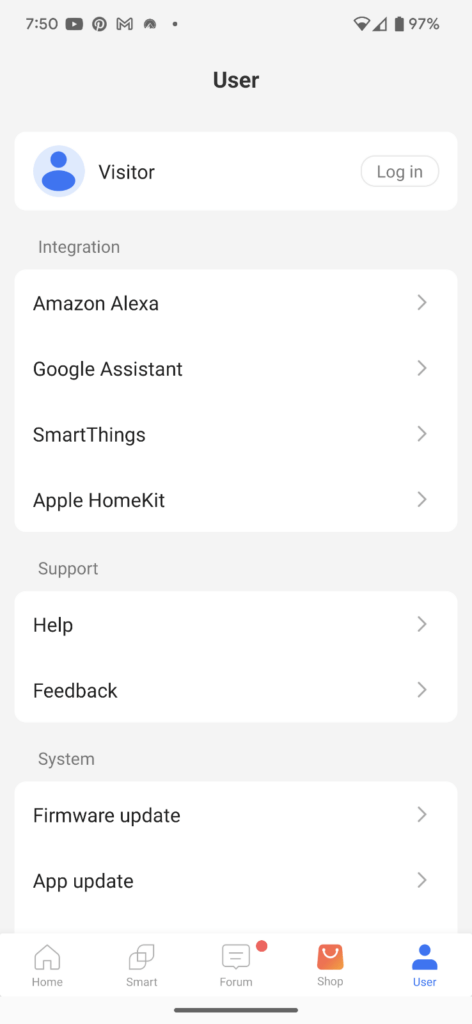
- Create an account with Meross and log in. You can do this through the app by clicking the Log In button at the top right.
- The app will walk you through setting up the Wi-Fi Hub, which you’ll need to do before adding the sensor.
- You may be asked to update the firmware of the smart Wi-Fi hub. Go ahead and do it.
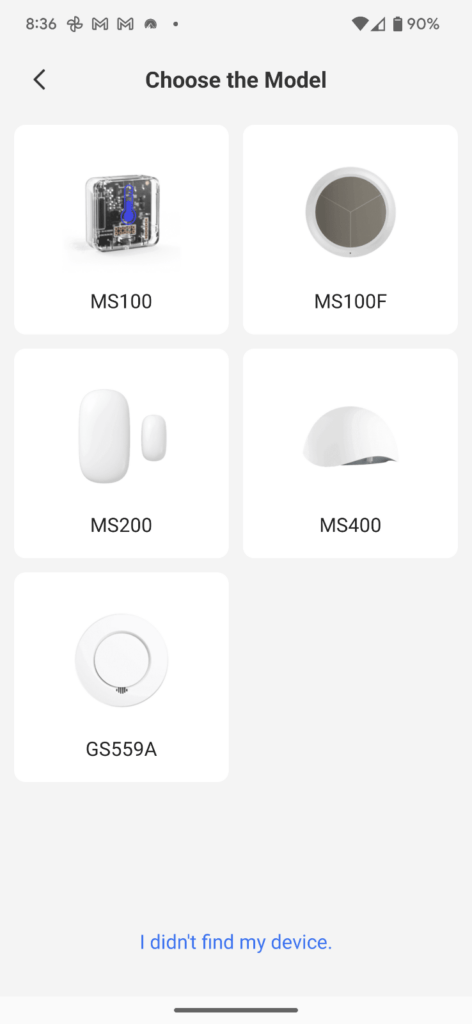
- Click the + button at the top of the app to add the MS100F sensor. You’ll have a list of device categories to choose from and you’ll want to choose from the sensors, and then select the MS100F.
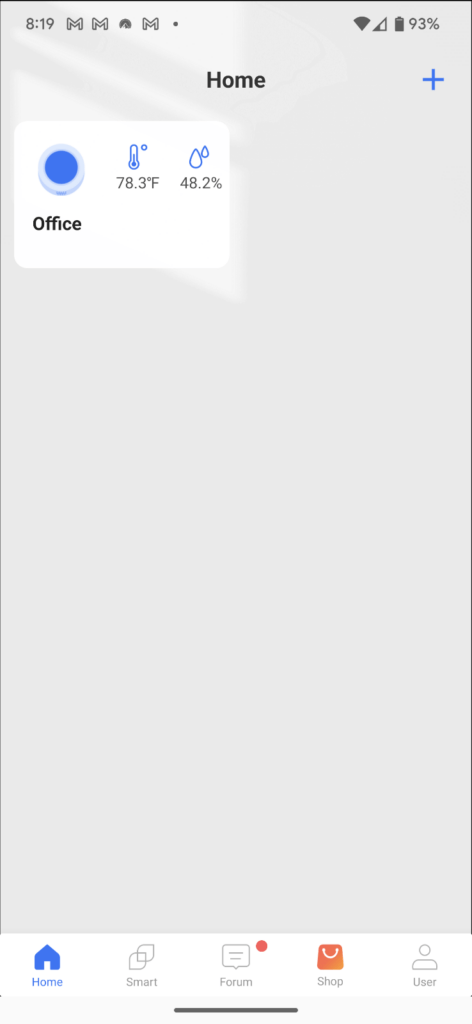
- Then, once again, you just follow the steps in the app. You’ll need the provided pin (like what’s used to eject a SIM card) to press a button on the MS100F sensor to trigger pairing mode, but that’s about as complicated as it gets. When done, you’ll see the device in the app similar to below:
Using the Meross Temperature and Humidity sensor
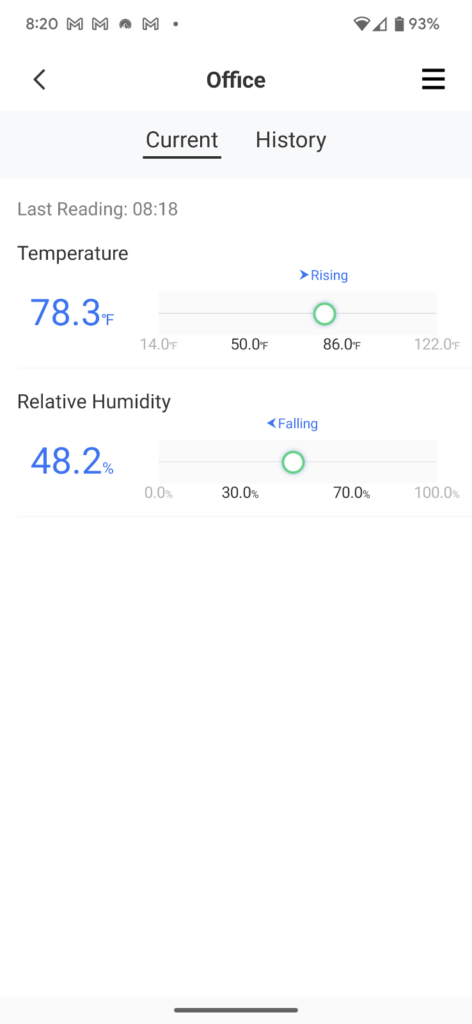
There’s really not much you need to do to “use” a temperature and humidity sensor. You’re just checking the temperature and humidity. However, the Meross sensor has a few features you should be aware of:
- The Meross app allows you to check the temperature and humidity from anywhere in the world.
- Although it has a coin battery, it also has solar charging. You should never need to change the battery, so long as you locate the sensor in a place that receives sufficient sunlight.
- You can track the history of the sensor values in the app, so you can know how the temp has varied over time. It stores two years’ worth of data which you can export.
- The sensors can be used as triggers for other actions if you have other Meross devices. For instance, when the temperature gets too hot, you could turn on a fan attached to a smart plug.
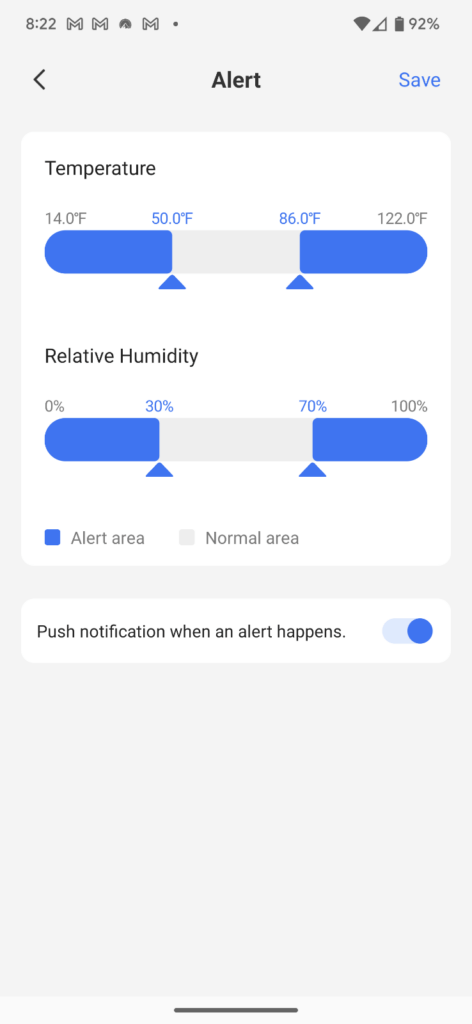
- In addition to the automations, you can also set up temperature and humidity alerts to notify you when these sensor values hit ranges that you define.
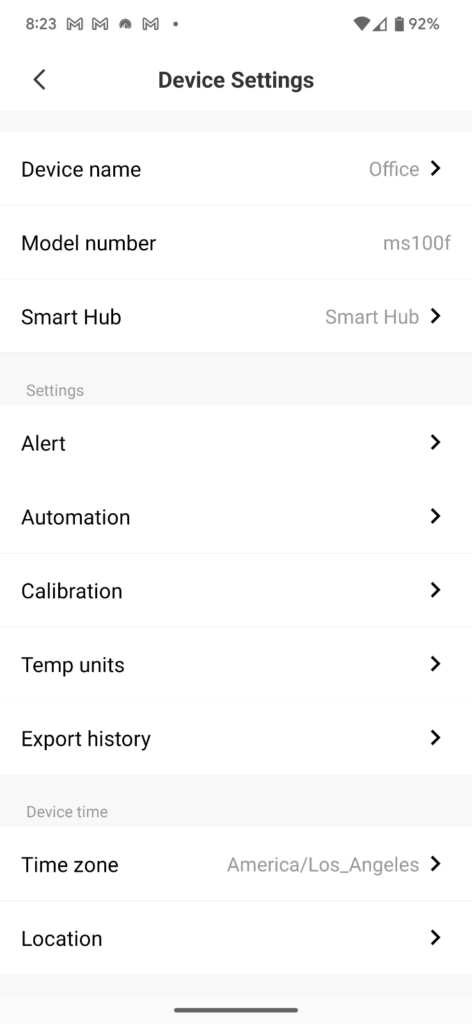
- You can easily integrate it with Alexa, Google Assistant, or Apple HomeKit. This allows you to check sensor values via voice request. You can also integrate it with Home Assistant, speaking of which…
Integration with Home Assistant
As regular readers know, I am a big Home Assistant fan. It is the perfect smart home hub for me. It is important for my smart home devices to be able to integrate with Home Assistant so I can maximize the “smarts” in my smart home.
Integrating any device connected to the Meross Wi-Fi hub is straightforward. You can use Home Assistant’s HomeKit Controller integration. Chances are, the Meross hub was already detected by Home Assistant and is waiting to be set up. If it hasn’t you can simply add the integration.
Either way, you’ll be asked for a pairing code. This can be found on the side of the Meross Wi-Fi hub. After entering it, Home Assistant will automatically create entities for the MS100F’s temperature and humidity sensors. That’s all it takes.
Alternatives
There are a plethora of smart temperature and humidity sensors, and it is hard to stand out. Most people pick their sensors based on the protocols they use in their smart home (Zigbee, Z-Wave, Wi-Fi, Bluetooth, Matter, etc.) and price.
I own lots of different temperature and humidity sensors. Some that I have made, and a few that I have reviewed (e.g., the SwitchBot Outdoor Sensor). The beauty of the Meross sensor is that as long as you have a home Wi-Fi network, it can be compatible with your smart home. And, unlike a lot of other sensors, it is HomeKit compatible.
The true differentiator, however, is that you never need to change the batteries of the Meross temperature and humidity sensor. I have so many sensors that require batteries that I created a dashboard in Home Assistant to track their values and which type of battery each device takes. I’m so glad I don’t have to do that with this device.
Here are a few other popular smart temperature and humidity sensors that you might want to check out:


Final thoughts
The Meross MS100F is an excellent temperature and humidity sensor. Paired with the Meross Wi-Fi hub, you can view sensor status and receive alerts from anywhere. You can even set up automations based on the sensor values.
If you’re looking for a reliable and accurate smart temperature and humidity sensor that never needs a battery change, I think you’ve found your winner.
If you like Meross products, you might also want to check out my reviews of the MS400 Smart Leak sensor, the MS200H Smart Window and Door Sensor Kit, and the Meross MSL430 Ambient Light.