This page contains affiliate links. If you purchase an item using an affiliate link I will receive a small commission at no cost to you. Affiliates do not influence my recommendations. Read my disclosures for more information.
Last year, I started getting into individually addressable LEDs for Christmas lights. This year I’m starting early by installing year-round holiday LEDs around my house. I’ve learned a ton since my first LED installs. Installing year-round LEDs will reduce the amount of work I need to do during the holiday season. It will also allow me to celebrate various holidays (or just brighten my spirits) at any time of the year. So here’s what I have done this year and plan to do going forward.
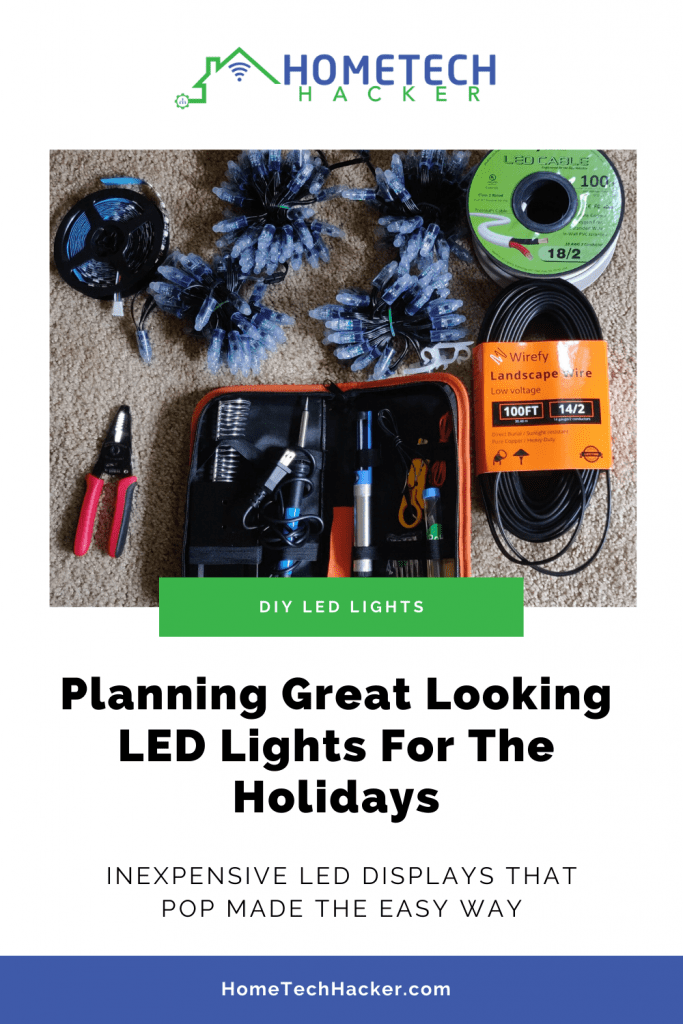
Table of Contents
Background and preparations for Holiday LEDs
I’ve already been pretty busy working with LEDs. Using WLED to control addressable LED strips and strings is so easy (here are step by step instructions). Putting more strips together was a snap. Installing some of them, was much more challenging, however.
I also took some time to learn how to use the Shelly RGBW2 controller. These don’t control addressable LED strips. But they are inexpensive, reliable, and support open standards for integrating with smart home controllers (like Home Assistant) and voice assistants.
Before getting into the projects I’ve completed and the projects I’m still planning, let me go over the toolset and supplies I’m using to do all of these projects.
Holiday LEDs (strips and strings) and controllers
There are lots of different types of strips and strings. Here is what I’ve bought and why:
- WS2811 LED String (12V) – These are individually addressable LED string lights that I use on my Christmas tree and to wrap lights around a column in my front lawn and clip to my gutter. I prefer the 12V ones to the 5V versions because it decreases the need for power injection.
- WS2812B LED Strips (5V) – I use these LED strips in multiple places around the house. Being 5V makes them a bit easier to wire up to a NodeMCU controller, but longer runs require power injection.
- WS2815 LED Strips (12V) – You can get 12V WS2811 LED strips, but unlike their LED string counterparts, you control 3 LEDs at a time instead of one. To get 12V individually addressable LED strips you have to step up to the WS2815, which increases the price. I have a long run of LED strips that I’m planning so I bought some of these on the cheap from AliExpress, but I’m still waiting for them. Being 12V should greatly cut down on power injection needs.
- RGBW LED Strip (12V) – This is a basic single color LED strip that has a separate LED dedicated for white.
- NodeMCU – These are what I use for all my WLED based controllers
- Shelly RGBW2 – LED strip controller. It doesn’t work with addressable LEDs.
Power supplies
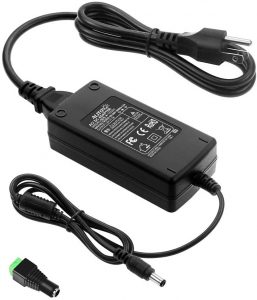
I’ve used a few different 5V and 12V power supplies, depending on the project:
- 12V laptop-style power supply – I have a couple of these powering my Christmas Tree light LED strings and the LED strings on my gutter. I’ve been able to successfully power 200 LEDs with 5 and 8 amp power supplies. With the 5 amp supply I turn the brightness down a bit.
- 5V bricks – I generally use these to power shorter runs of 5V LED strips. I usually get the 3 amp variety.
- 12V waterproof LED driver – I haven’t ordered this yet, but this is what I’m planning on using to power the LED strips that I’m going to put on my deck, whenever they get here. Or I might use a this type of power supply to save a few dollars.
Electrical tools, wires, and other supplies
I’ve built up a toolkit for working with LEDs to help me complete my projects. Here’s what I have on hand:
- 14 AWG landscape wire – I use this for higher amp connections and where I need to use waterproof wire (like on my deck and gutters).
- 18 AWG jacketed 2 conductor wire – I use this for my lower amp power injection connections. It’s not outdoor rated, but if protected it seems to do fine.
- Wire cutters – Pretty much a necessity to be able to cut and strip wires to do these projects.
- 2 core 2 pin pigtail waterproof connectors – I use these for waterproof power connections outside.
- Barrel connectors – I use these for my power connections that don’t need to be waterproof.
- Solder kit – I’m far from an expert at soldering, but I’ve been able to successfully solder connections using this kit.
- Heat shrink tubing – Gotta protect those soldered wire connections.
- Heat gun – I could use a regular lighter for the heat shrink tubing, but this works much better.
Miscellaneous tools
In addition to the lights and wiring, there are few more supplies I use to put the finishing touches on my projects:
- Waterproof cases – I use these to house outdoor power supplies and controllers.
- Project boxes – for housing my nodeMCU controllers when I don’t use a breadboard or need waterproofing.
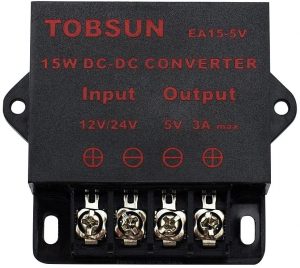
- 12V to 5V converters – Whenever I’m using 12V LED strings and power supplies I need to convert the power down to 5V for the nodeMCU controllers.
- Terminal blocks – Planning on using these to run power injection on my deck.
- Breadboards – For neatly organizing my nodeMCU controller connections.
- Breadboard wires – For making connections on my breadboard.
- PCB terminal blocks – Again, for making connections on my breadboard.
- Logic level converter – These are to make sure a consistent signal is sent from my nodeMCU controllers to my LED strips and strings. These are needed when the distance from my controller to the first LED is more than a foot or two.
- Holiday light clamps – I use these to evenly space and mount LED string lights on my gutters.
- Adhesive cable holders – These help make some of my installations look a little neater by managing LED strings and power injection cables.
Completed projects for holiday LEDs and year-round LEDs
Wow, that’s a lot of stuff I’ve built up over the last year or so. All of it definitely isn’t needed for each project, but as I planned and completed more and more projects, I started to find things that helped and make my installations better. So far I’ve managed to complete a few projects around the house. Let’s step through them.
WLED Christmas tree lights
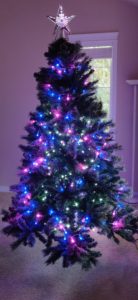
This project made our Christmas Tree lights the best they’ve ever been. I used 200 12V string LEDs (WS2811) and a nodeMCU controller to do all of the work. I wrote about this in detail in my first WLED article, so I won’t go through it again here.
WLED lights above kitchen cabinet
This one came out nice. I used an addressable 5V LED strip (WS2812b), WLED, and a nodeMCU to put this together in just a few minutes. It creates really nice ambient effects in our kitchen.
RGBW2 bed lights
For this project, I used a Shelly RGBW2 and a single color RGBW LED strip. I connected these up to Home Assistant using MQTT. You can read more about this installation in my Shelly RGBW2 review article.
WLED bed lights
My other son couldn’t be left out. I used some leftover LED strip from the kitchen cabinet project. Soldered some leads onto LEDs and wired them up to a nodeMCU controller.
WLED garage eave lights
For this one, I used a single 5M 5V LED strip (WS2812b) with power injection at the beginning and end of the strip. The setup was pretty hard for me. It’s hard to work at the top of a ladder to secure wires and the LED strip. This is definitely one I don’t want to have to redo or fix!
WLED gutter string lights
This one took some planning. These are 200 12V LED strings (WS2811) controlled by a WLED powered nodeMCU. I used waterproof pigtail connections for power injection in the middle of the LEDs and I used 14 AWG landscape wiring to run the power injection to make sure it would hold up in the elements. I also took the time to evenly space out the LED lights using clips on the gutter. The nodeMCU, power supply, and 12V to 5V step-down converter are all housed in a waterproof box that is secured out of sight.
I think this turned out nicely. So far it has held up to the weather.
Upcoming project: Holiday LEDs on the deck
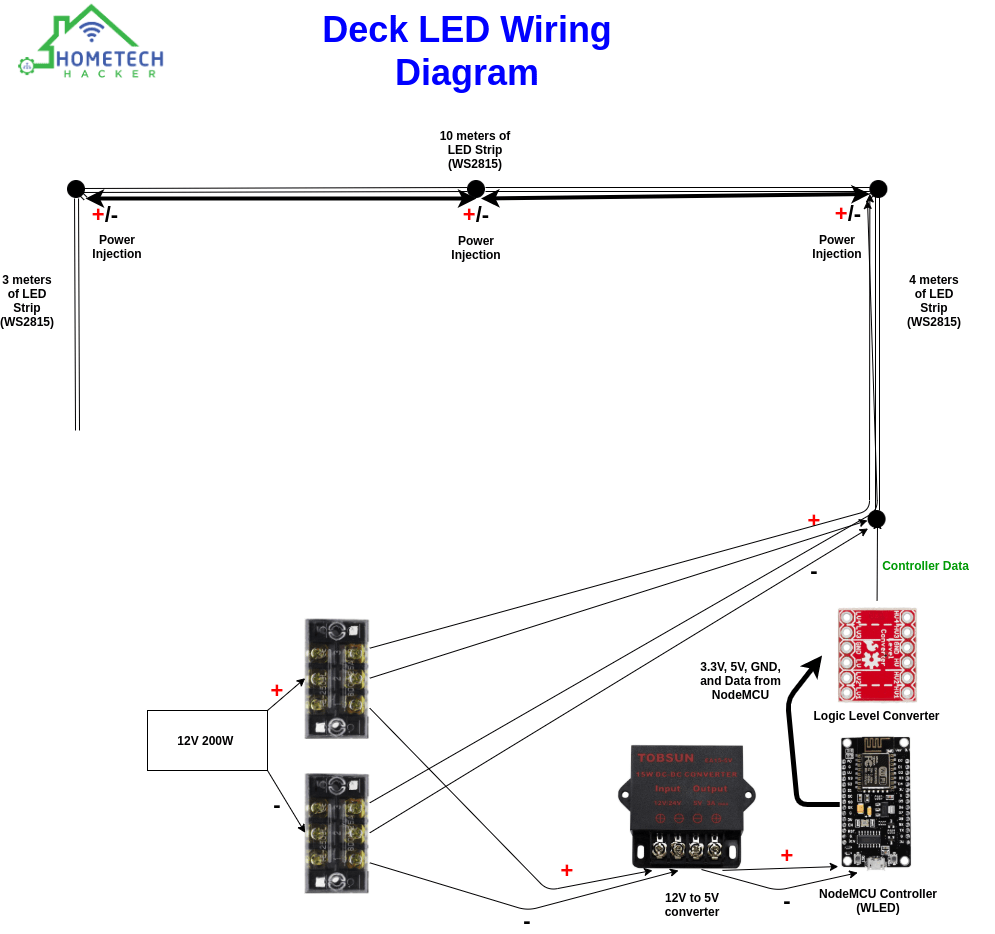
This will be my most ambitious project yet. I have a pretty big deck that is going to require about 28 meters worth of LEDs. For these, I’ve decided to go with 12V LED strips (WS2815) that I ordered off of AliExpress (because they are kind of expensive on Amazon). I expect to need power injection about every 5M, and installing the LEDs and power injection wires underneath the railing won’t be easy. This entire installation needs to be waterproof, so I’m going to need waterproof boxes, wire, and connectors.
I expect to solder all of the power injection wires, and I’ll need a 12V to 5V step-down converter to get this job done. Also, I plan on installing the controller (WLED powered nodeMCU) onto a breadboard with a logic level converter to keep the data signal pure over a few feet.
Since this will use a significant amount of power, I’m going to power these with a 200 12V LED driver. I’ll use these terminal blocks to distribute the power to the step-down converter and power injection connections, which will be waterproof.
I think my biggest challenge will be keeping the power injection wires and connections hidden. That’s gonna be hard. But I expect this to look great once all the work is done. Here’s a rudimentary drawing of setup and power injection points.
Note: I made some edits to these plans in my final installation. Check out my article about finalizing my outdoor LEDs for more details, including videos of the installations in action.
Final thoughts
So that’s all that’s happened and all that is happening with holiday LEDs for me. Once I complete all of these projects, I have lights around the house year-round that I can just program and configure to be festive for the 4th of July, Halloween, Christmas, Valentine’s Day, sporting events, you name it. I’ll just add a Christmas tree and a few additional Christmas lights when the Holiday season comes.
How far in advance do you plan your holiday LEDs? Considering using addressable LEDs and WLED? Let me know in the comments or on Twitter.