Even with all the automation and voice control capabilities in my house, sometimes it is easiest just to be able to push a button to make something happen. That’s why I still have a remote control and have various buttons like the IKEA Trådfri and some inexpensive 433MHz buttons to control LEDs, my irrigation system, and more. Always in search of a good smart button, I came across the Shelly Button 1. I’m a fan of many other Shelly devices, especially the Shelly relays. So how does this Shelly product measure up? Read on to find out more.
This page contains affiliate links. If you purchase an item using an affiliate link I will receive a small commission at no cost to you. Affiliates do not influence my recommendations. Read my disclosures for more information.
Table of Contents
Shelly Button 1 Specs
| Battery | 400mAh Capacity, 5V Micro USB Charge |
| Battery Life | 3000 button presses before recharge |
| Button press types | Short, Double Short, Triple Short, Long 802.11 b/g/n |
| Wi-Fi | 802.11 b/g/n |
| Wi-Fi Range | up to 50 m outdoors, up to 30 m indoors |
| Dimensions | 45 mm x 45 mm x 16 mm |
| Protocols | MQTT, CoIoT |
The Shelly Button 1 comes with a 400mAh battery that is supposed to last up to 3000 button presses. That’s a pretty long time.
Although this device only has one button, it recognizes 4 different button push types:
- Short Press
- Double Short Press
- Triple Short Press
- Long Press
You can configure how long a short press is and how long a long press is. Also, you can configure the expected waiting time between multiple press actions. You can assign each of these press types to an action, which I’ll get to later.
Additionally, you can disable the LED ring on the button, but I don’t recommend that. It’s a great indicator of when the button has successfully executed its command.
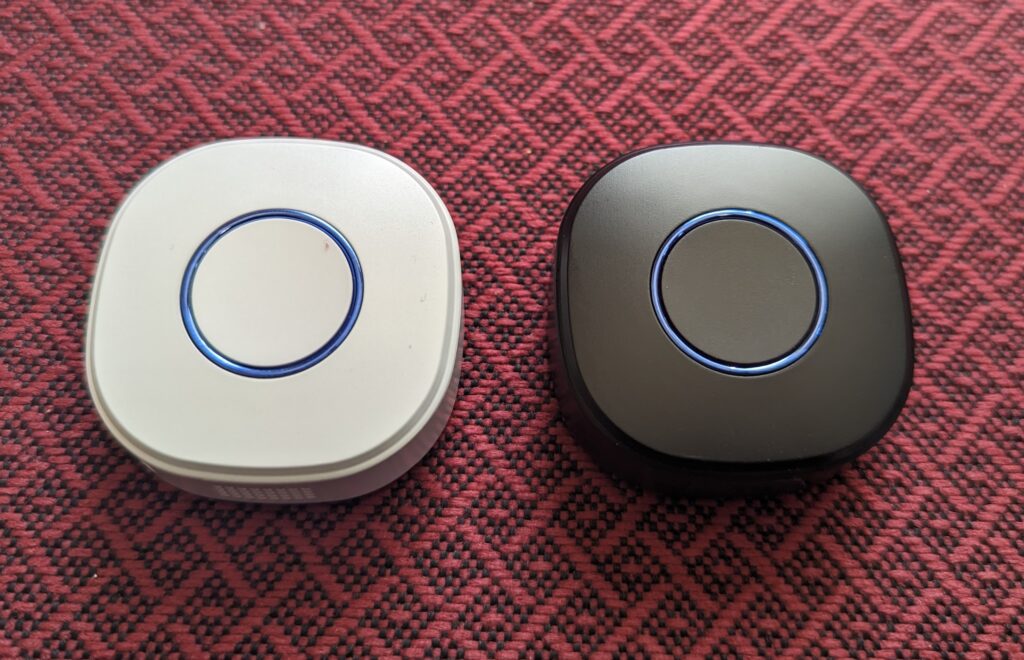
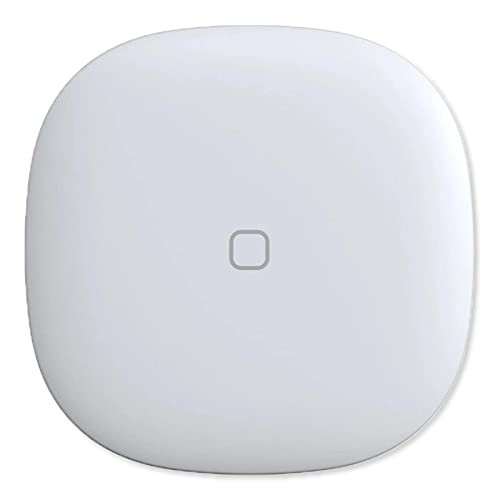
The button comes in two colors, black and white.
Shelly Button 1 setup
This Shelly setup is similar to every other Shelly device I have set up. First, you plug the device into a micro USB adapter/charger (not supplied). Then the Shelly Button 1 will enter Wi-Fi access point mode. Using a mobile device, connect to the access point (which will be a name like shellybutton1-xxxxxxxxxxxx.).
At this point, you can use the Shelly App to configure the device, but I always go to the default IP address of Shelly devices — 192.168.33.1.
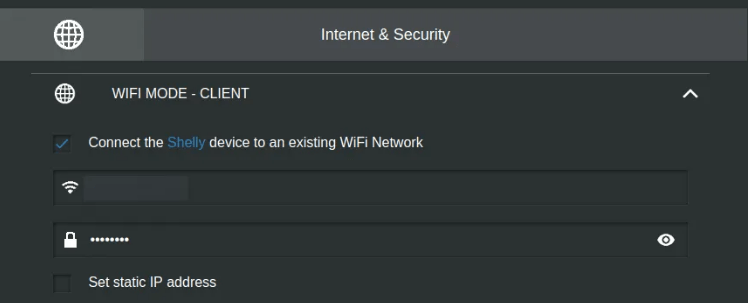
From here you can head to Internet & Security->WiFi Mode – Client and enter the credentials of your Wi-Fi network so that the Shelly can connect
I recommend either setting up a static IP or using a DHCP reservation via your router to give it a consistent IP address.
After your Shelly reboots it is ready to go. There are a few configurations like button press duration and time between button presses that you might want to configure. The most important thing to configure is what happens when you press the Shelly Button 1.
As you can see from the screen below, you can enter four different actions for different types of button presses. These actions can be webhooks/URLs that cause something else to happen.
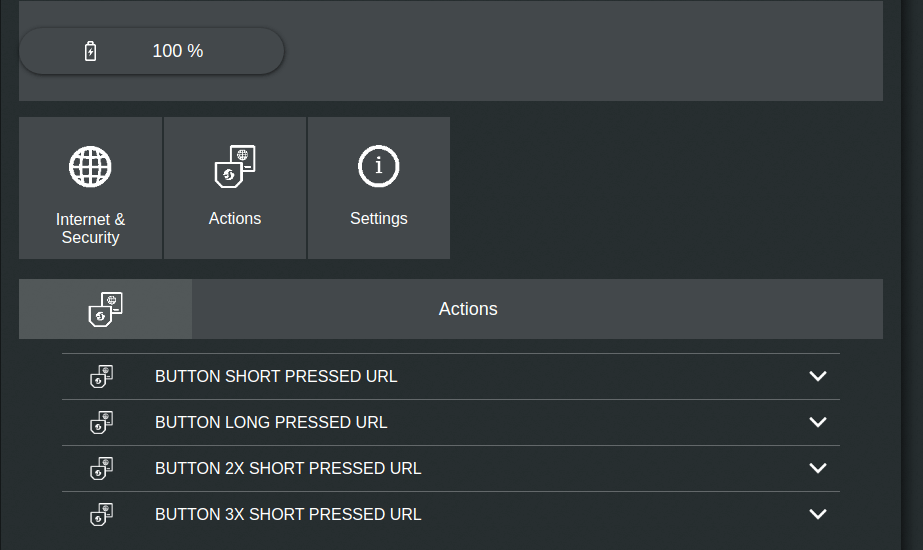
I left these blank because I will be using Home Assistant to create responses to these button presses.
Please note that the Web UI only stays up if the device is plugged into USB power. So if you want to make configuration changes, plug the device in.

Integration with Home Assistant
There are two ways to integrate this device with Home Assistant: a native Home Assistant integration and using MQTT. Since I have two buttons, I decided to try both implementations to see if I noticed any differences.
Integration using MQTT
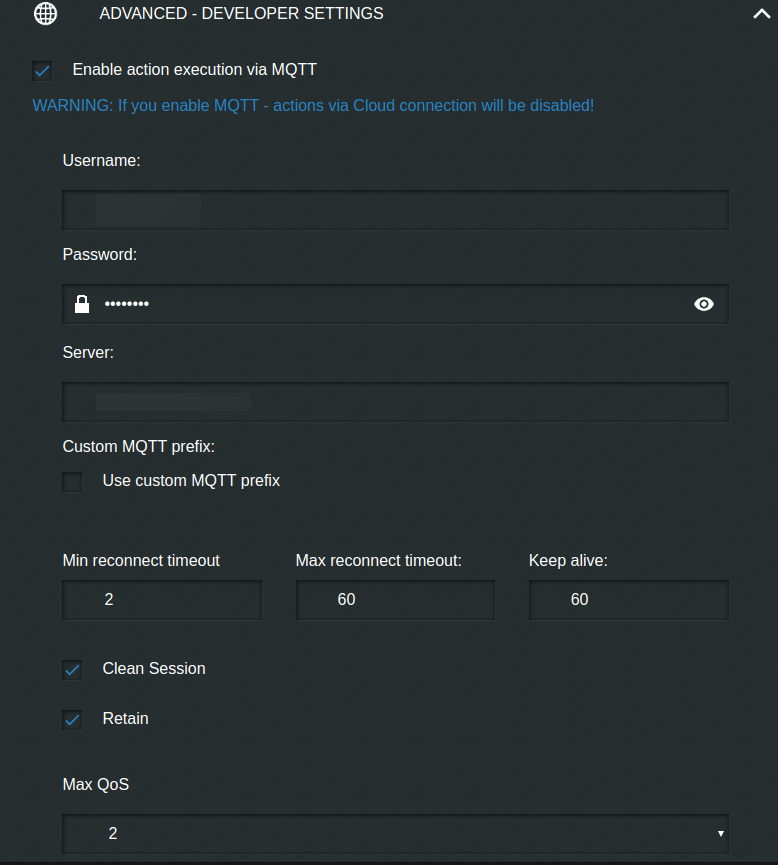
MQTT integration requires you to have an MQTT Broker, which can be set up easily in multiple ways. Once you have your MQTT broker set up, you need to configure your Shelly Button 1 to connect to it. Just go to Internet & Security->Advanced – Developer Settings and scroll down a bit to enable MQTT, and enter the username, password, and server address of your MQTT broker.
In Home Assistant, you’ll need to use MQTT to set up a battery sensor and trigger actions. You can create a battery sensor with the following template:
sensor:
  - platform: mqtt
    name: "button-battery"
    state_topic: "shellies/shellybutton1-<DEVICEID>/sensor/battery"
    value_template: "{{ value }}"
    unit_of_measurement: "%"
    icon: mdi:battery
    unique_id: <DEVICEID>
Remember to replace <DEVICEID> with the actual device ID of your Shelly button, which you can find in the Shelly Button web interface.
Now, to the important part — triggering actions with the button. Here’s an example of an automation triggered by pressing the Shelly Button 1.
- id: 'toggle_office_light'
  alias: Toggle Office Light
  trigger:
  - platform: mqtt
    topic: "shellies/shellybutton1-<DEVICEID>/input_event/0"
  condition:
      condition: template
      value_template: "{{ trigger.payload_json.event == 'S' }}"
  action:
  - service: light.toggle
    target:
      entity_id: light.office
  mode: single
The code above will toggle the office light on and off every time the shelly receives a short button press. If you wanted to use a long button press to trigger the light toggle you would change the value_template to:
"{{ trigger.payload_json.event == 'L' }}"
Note the ‘S’ has been changed to an ‘L’ in the code above. If you wanted this automation to trigger from two or three short presses it would be ‘SS’ and ‘SSS’, respectively.
You can change the action to be whatever you want it to be and you can set up an automation for each button press type.
Integration using the Home Assistant Shelly integration.
This method is easier than the MQTT method and doesn’t require anything but a regular Home Assistant controller.
Before you get started, you need to configure the CoIoT connection of your Shelly Button. You do this by going to Internet & Security > Advanced – Developer Settings and enabling it and entering the address of your Home Assistant installation:
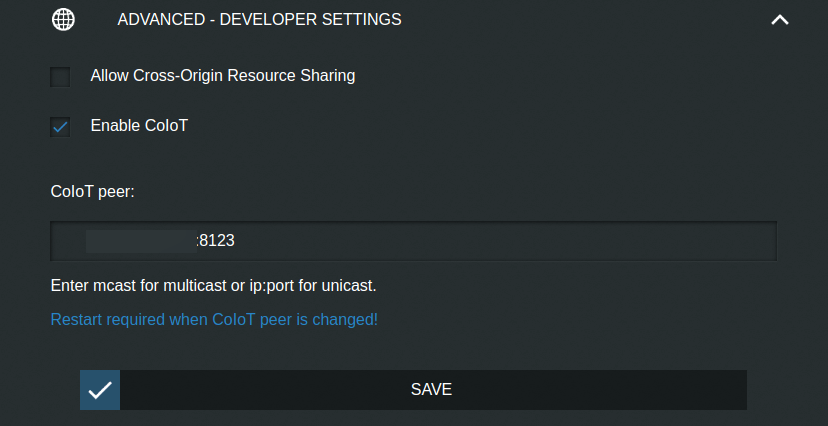
Be sure to reboot your Shelly Button 1 after configuring CoIoT. Then you can add the device to Home Assistant as you would other devices. Go to Settings > Devices & Services and click the ADD INTEGRATION button. Type in Shelly and then enter the IP address of the Shelly Button 1.
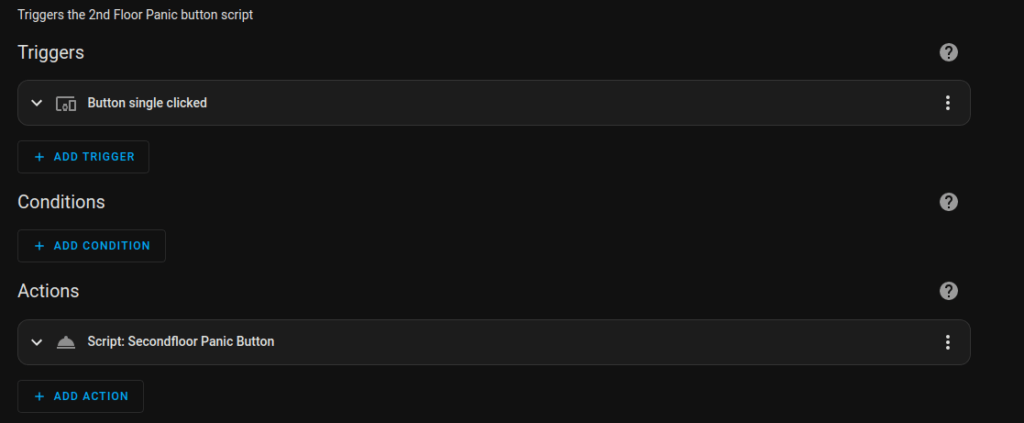
The Shelly integration will create one entity — a battery sensor. So how do you trigger actions for the Shelly Button 1 in Home Assistant? The easiest way is to just use the built-in Home Assistant automation editor to trigger off button-click events. Here’s an automation I built to use the Shelly Button single short click to trigger a panic button script I have:
Shelly Button 1 usage
Using the Shelly Button 1 is straightforward. You press the button and you get the action you specified in Home Assistant or in the Shelly interface. When on USB power the action is almost instantaneous.
On battery power, it may take a couple of seconds because the device has to wake up and connect to Wi-Fi first. But it isn’t that long.
When you first press the button you get a blue LED.
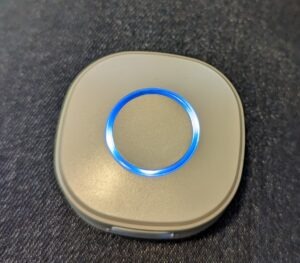
When the button has successfully called the configured action the led will turn green for a second to indicate success.

I’ve found the button to be 100% reliable so far.
Alternative Buttons
Now there are lots of other buttons on the market that you could use. Here are a few:

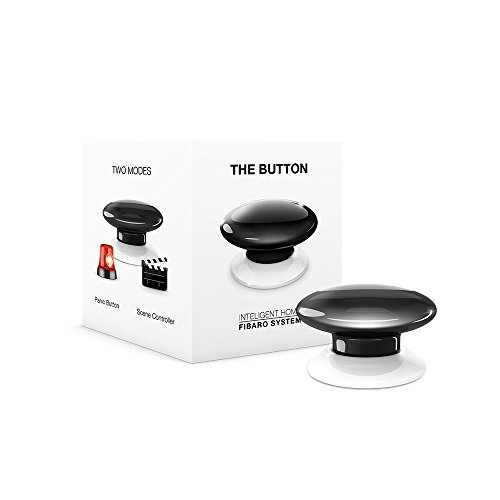
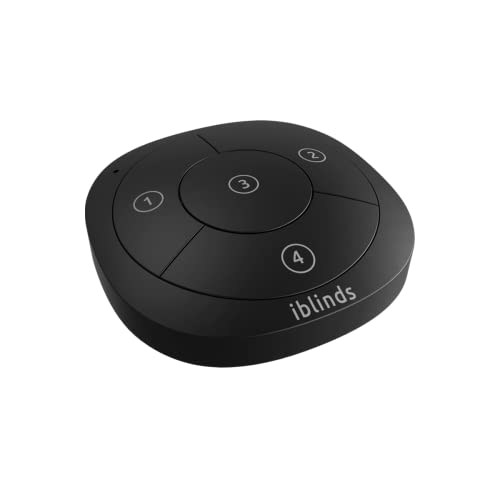


I have the IKEA Trådfri and it is great. But, like the other Zigbee buttons above, you need to have a Zigbee radio and a good Zigbee signal where you want to put the button. The Z-Wave buttons tend to be a bit more expensive and also require a Z-Wave radio.
The Flic 2 connects via Wi-Fi or Ethernet, but requires a hub and is much more expensive. If you are looking for a Wi-Fi button, The Shelly Button 1 should be on your shortlist.
Final thoughts
Do you have the Shelly Button 1 or another smart button? Let me know which one and what you think of it in the comments or on Twitter.